Pages

Wednesday, October 9, 2024

Potions & Spells Halloween Fun Fold

POTIONS & SPELLS HALLOWEEN 

              Fun Fold


 HOW TO CREATE & ASSEMBLE:

  1. Card base (4 1/4” x 11”) Score @5 1/2”, then cut at a diagonal. Keep the piece you cut off for your cauldron. (This step has been done for you.)
  2. Fold and Burnish on the score line.
  3. Take your (5 1/4” x 4”) DSP and cut on the diagonal. * If your DSP has a direction you want to lay it be sure to figure it out before you cut it. If you make a mistake, that’s okay you can have your card open on the right side instead of the left.
  4. Adhere. Your DSP triangles on to your card base. One triangle on the front flap and the other on the base leaving @1/16” border around.Set aside.
  5. Die cut your cauldron and broom stick in the piece of Black cardstock.
  6. Small card base (3 1/4” x 6 1/2” scored at 3 1/4”) in pumpkin. Fold and burnish on the score line.
  7. Die cut bubbles and “spill over” in old olive and grape cardstocks. Create the scene on the front of the small card using dimensional to adhere the cauldron. 
  8. Die cut the bottom of the broom on a scrap of DSp of choice. 
  9. Stamp and die cut the Happy halloween Sentiment. Set it aside.
  10. Stamp and color the design on the 3” square of white cardstock.
  11. Adhere it to the inside of the small card.
  12. Open up the large card base and glue the small card base in the center.
  13. Adhere the broom to the front flap of large card base.
  14. Adhere the greeting ti the back of the large card base using dimensional.
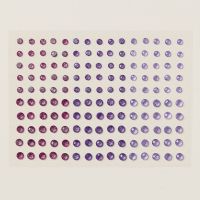
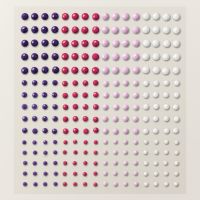
  15. Add some gems to embellish.
  16. Adhere DSP to the flap of your envelope and trim stop fit the flap.

WHAT YOU’LL NEED:
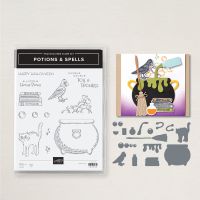
Monday, September 30, 2024

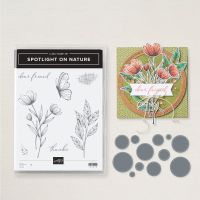
SPOTLIGHT ON NATURE "DEAR FRIEND"


HOW TO CREATE & ASSEMBLE:

  1. Fold and burnish your card base (5 1/2” x 8 1/2” scored at 4 1/4”).
  2. Adhere the Pool Party layer (4 1/8” x x 5 3/8”) to the card front.
  3. For the next layer (4” x 5 1/8”) create your own “designer paper” by stamping the leaves randomly in Pool Party ink. Stamp your sentiment in the lower right corner then adhere to your card front. (Optional: while doing this , do the same to the flap of your envelope so that it will coordinate.)
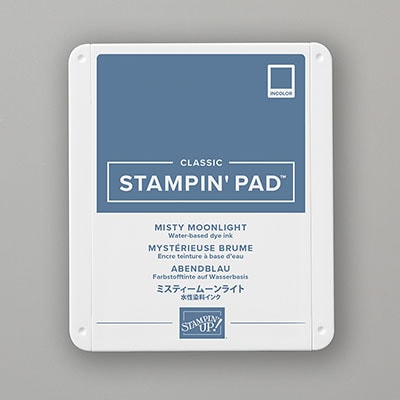
  4. Run the pool Party (3 1/2” square) and Misty Moonlight (4” square) pieces of cardstock through the embossing machine with the corresponding dies. Adhere them together and then trim off a bit to have a straight edge that you will then align to the left edge of the top layer of your card front and adhere.
  5. Choose a sentiment for the inside of your card and stamp it on the (4” x 5 1/4) white piece of cardstock and adhere it to the inside.
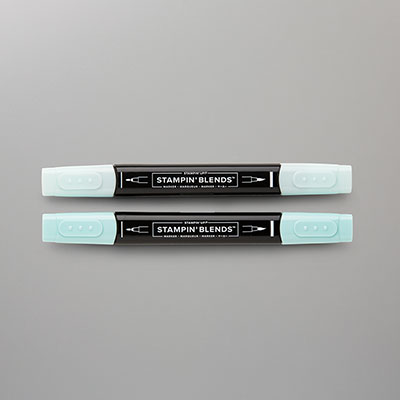
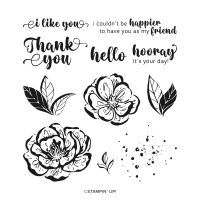
  6. Take your last piece (3” x 4 1/4”)of white cardstock and stamp the flowers.  Color them in with the Stampin’ Blends and fussy cut them out to adhere to your card front as shown.
  7. Using your Stamping Blends color the ribbon and then tie a bow and attach it to your card front.  Add gems to embellish.

WHAT YOU’LL NEED:

Wednesday, September 18, 2024

Simple Thank You

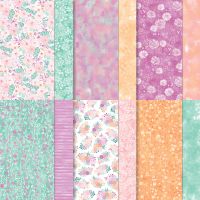
This was a card that we did as a Mystery Card with my team and I enjoyed it that I chose to make it in my class this month. So easy and versatile.  I made a welcome baby card with the idea also just turned it landscape orientation. You can use any Designer Series Paper and any color cardstock.  

SIMPLE THANK YOU

HOW TO CREATE & ASSEMBLE:

  1. Fold and burnish your (5 1/2” x 8 1/2” scored $ 4 1/4”) Card base.
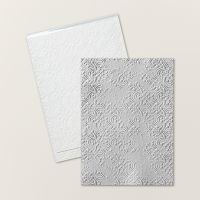
  2. Run your (4” x 5 1/4”) piece of white cardstock through the embossing machine in the distressed tile folder. Adhere to your card front.
  3. Adhere the two (1 3/4” square) pieces of DSP to two of the (2” square)  squares of pink cardstock. Adhere them lined up with a corner at the to and a corner at the bottom, to the center of your card front.
  4. Stamp the sentiment On the white (1 3/4”) square of cardstock **line the sentiment so that it is centered with the square as a diamond. Adhere this to the other 2” square of pink cardstock. Align this so it will be between the two other “diamonds” and adhere with dimensionals.  
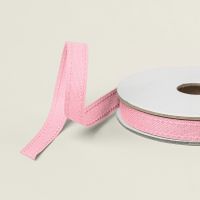
  5. Tie a bow with your ribbon and attach to your card .( I prefer using glue dots but if you do not have them just use liquid glue.)
  6. Stamp a sentient and design on the inside of your card.
  7. Adhere the strip of DSP to the flap of your envelope so that it coordinates with your card and trim it out. **I always recommend using liquid glue when adhering anything t your envelope so that it won’t accidentally be pulled of going through the mail.Get glue ALL the way to the edges.)

WHAT YOU’LL NEED:

Watercolor Birthday Card

I cased this card from a Stampin' Up! event that I attended.  It worked so well with the Watercolor Fluid  Paper and since I had not wor...