This was a card that we did as a Mystery Card with my team and I enjoyed it that I chose to make it in my class this month. So easy and versatile. I made a welcome baby card with the idea also just turned it landscape orientation. You can use any Designer Series Paper and any color cardstock.
SIMPLE THANK YOU
HOW TO CREATE & ASSEMBLE:
- Fold and burnish your (5 1/2” x 8 1/2” scored $ 4 1/4”) Card base.
- Run your (4” x 5 1/4”) piece of white cardstock through the embossing machine in the distressed tile folder. Adhere to your card front.
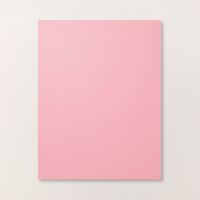
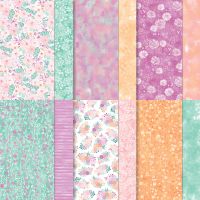
- Adhere the two (1 3/4” square) pieces of DSP to two of the (2” square) squares of pink cardstock. Adhere them lined up with a corner at the to and a corner at the bottom, to the center of your card front.
- Stamp the sentiment On the white (1 3/4”) square of cardstock **line the sentiment so that it is centered with the square as a diamond. Adhere this to the other 2” square of pink cardstock. Align this so it will be between the two other “diamonds” and adhere with dimensionals.
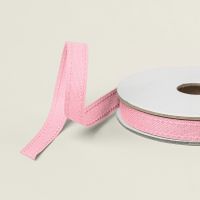
- Tie a bow with your ribbon and attach to your card .( I prefer using glue dots but if you do not have them just use liquid glue.)
- Stamp a sentient and design on the inside of your card.
- Adhere the strip of DSP to the flap of your envelope so that it coordinates with your card and trim it out. **I always recommend using liquid glue when adhering anything t your envelope so that it won’t accidentally be pulled of going through the mail.Get glue ALL the way to the edges.)
WHAT YOU’LL NEED:
.jpeg)
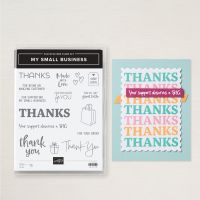
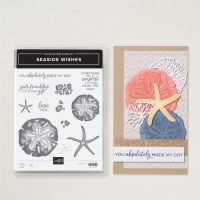
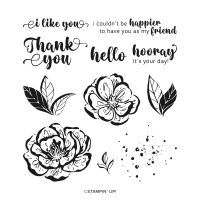
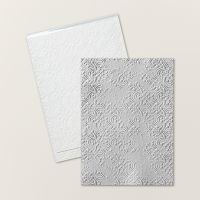





.jpeg)
No comments:
Post a Comment