I loved this technique of embossing first then going back in with blending brushes and adding in colors of my choice to get the tie dye effect. So, so many color combinations! have fun
SPIRAL DYE HAPPY BIRTHDAY
Cased Noreen Brumgardt
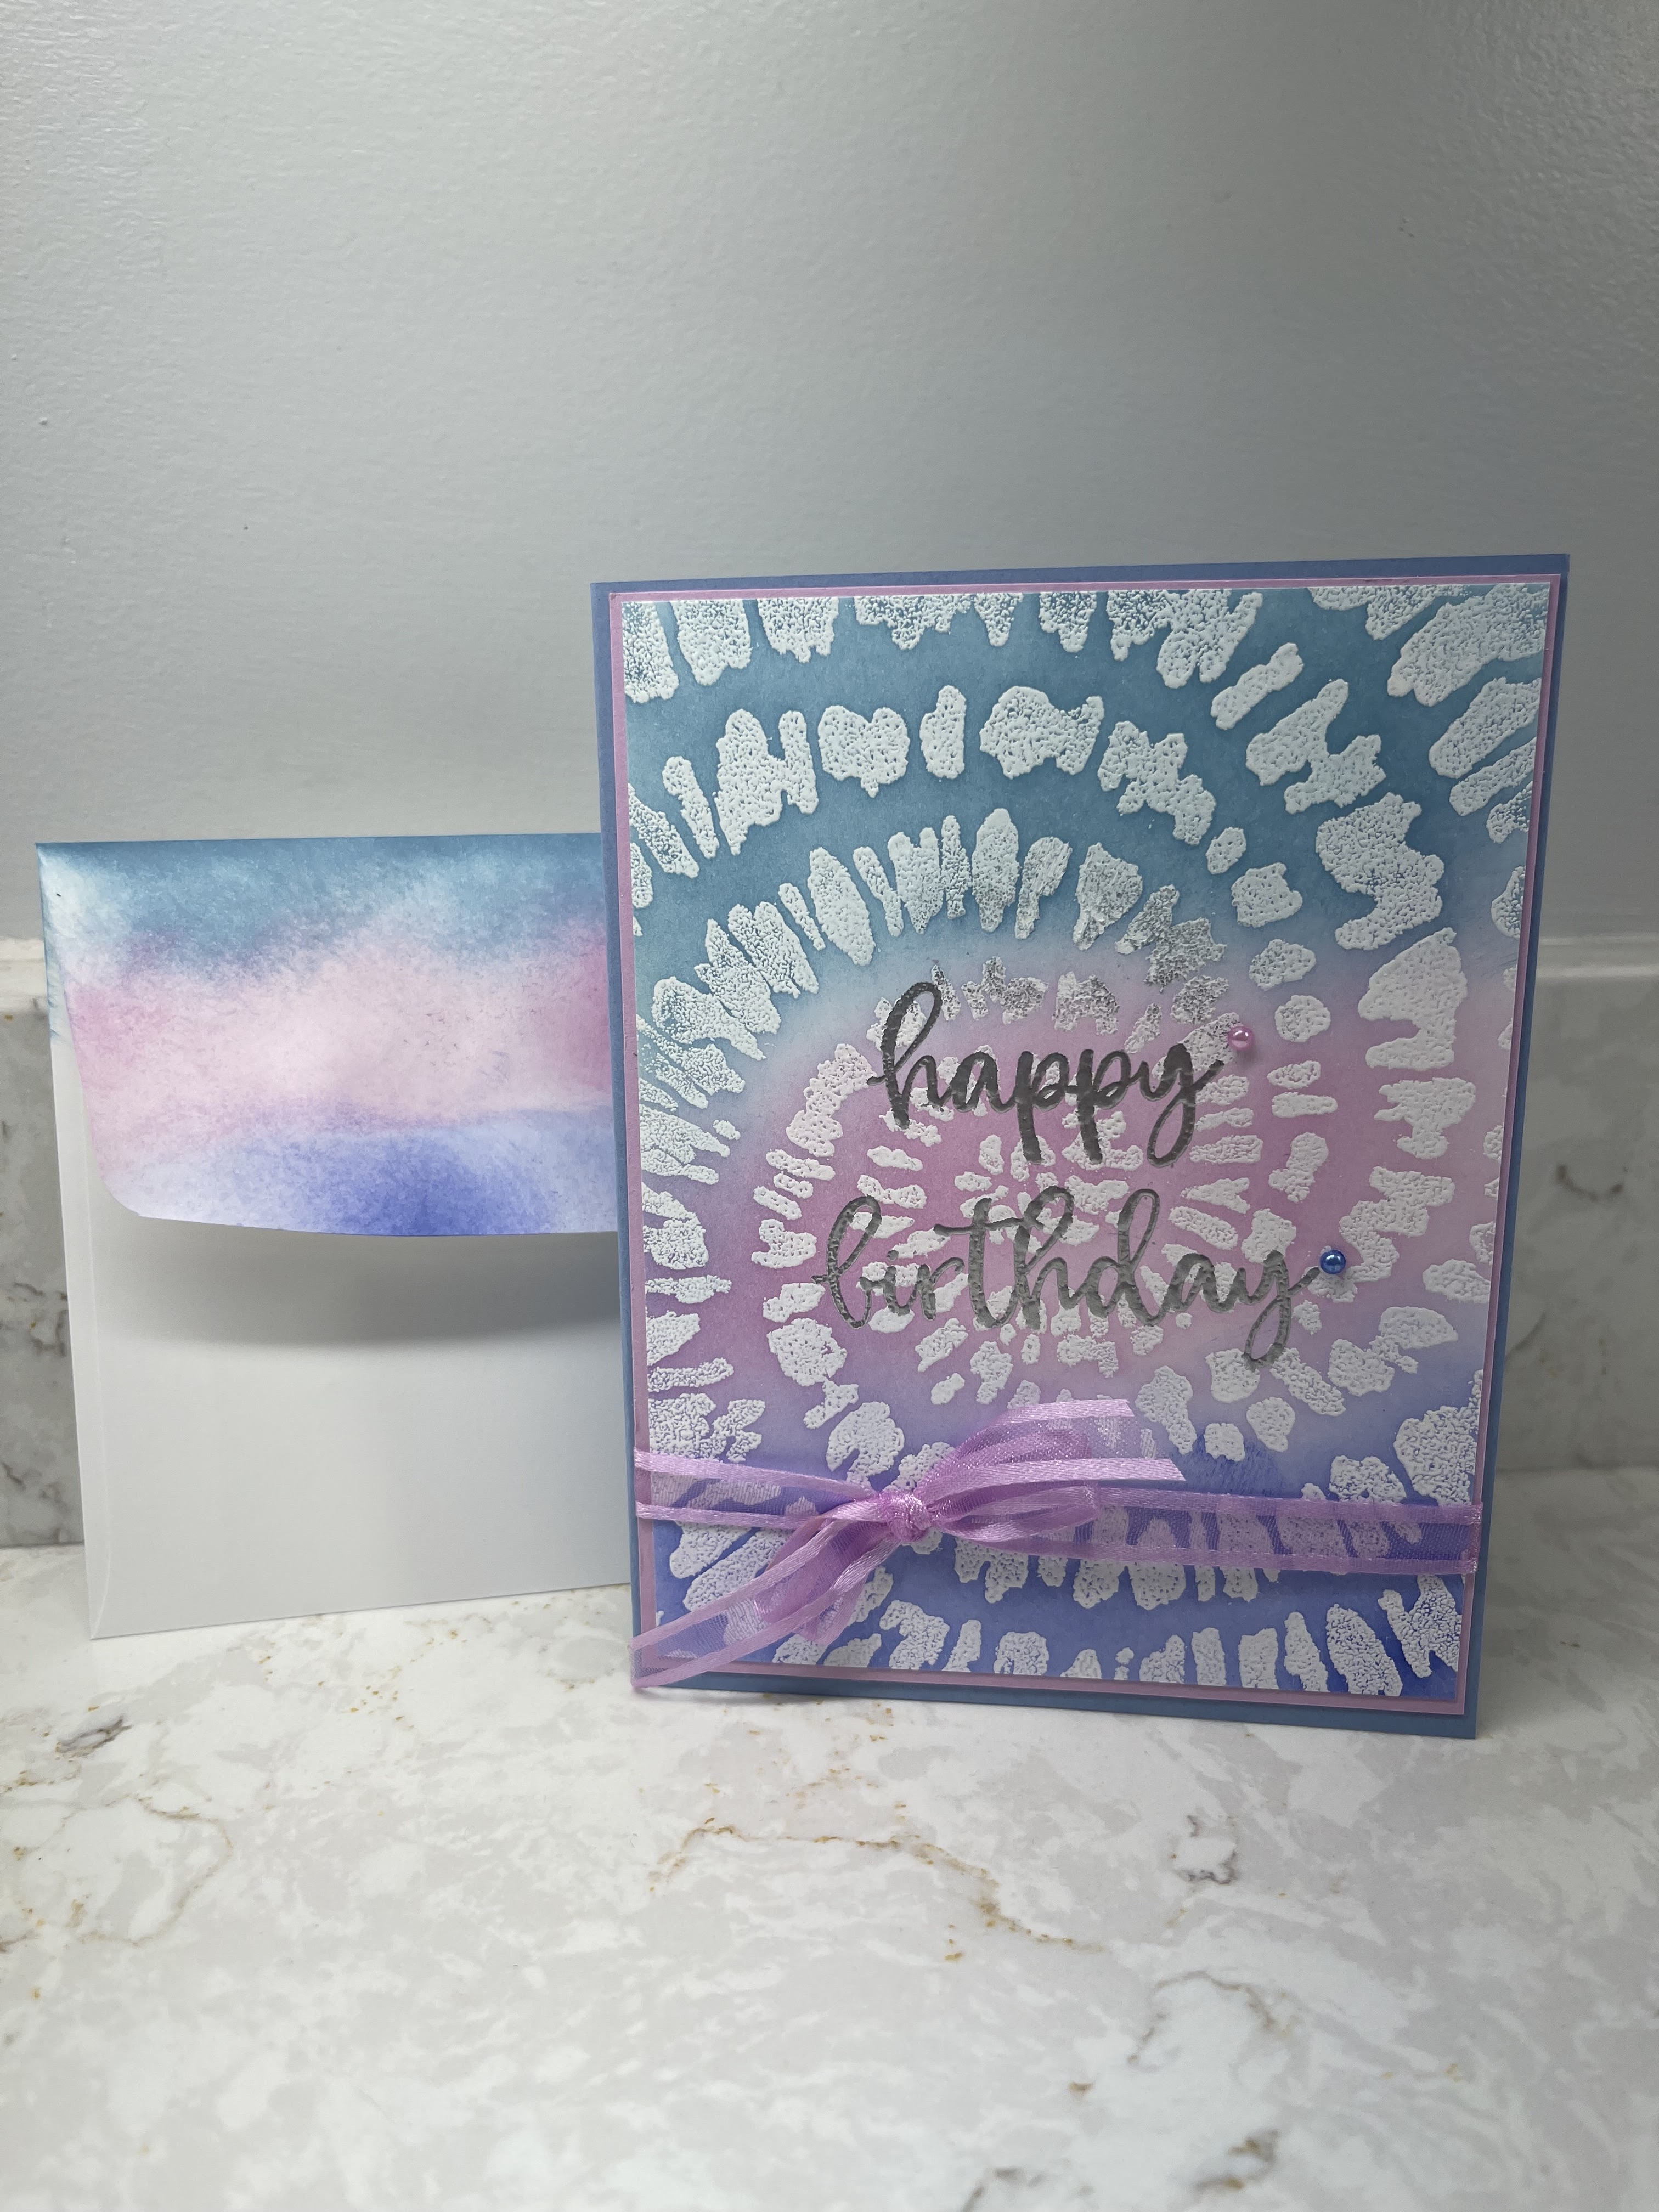
HOW TO CREATE/ASSEMBLE:
- Ink up the Spiral Dye stamp with Versamark ink then stamp the larger (5-1/2” x 4-1/4”) piece of white cardstock. Cover with white embossing powder, making sure to cover it all and “flicking” off the excess powder.
- Using the Heat tool, heat to set the embossing powder. You will know it is ready when it is shiny.
- Using the blending brushes and starting with the lightest ink color (Freesia) start inking the card. Start blending off your paper and work on to your card front. Leaving the darkest ink color for last. (Optional: I blended the other piece of white cardstock for the inside in the same manner as well as the envelope flap.)
- Using the embossing buddy, wipe the area where you want to stamp the sentiment then stamp it with Versamark ink.
- Emboss with silver embossing powder, then heat until it sets and is shiny.
- Trim this piece down to 5 -1/4” x 4”. Adhere to one of the pieces of Freesia cardstock .
- Tie a ribbon of your choice around this part of the card front.
- Adhere to the card front. Add some gems or other embellishments.
- On the inside adhere the other white piece of cardstock (which you should have inked) to the other piece of Freesia and adhere to the inside
WHAT YOU’LL NEED:

")


")


")


 Designer Series Paper")


")
")


.jpeg)


