Pages

Wednesday, September 4, 2024

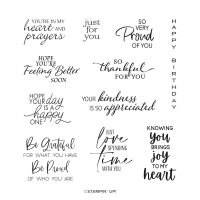
Thoughtful Journey: You're In My Heart And Prayers

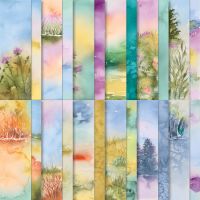
 So beautiful and simple with this Designer Series Paper you can make sympathy, birthday, thinking of you. . . cards for any occasion. Quick and easy.

YOU’RE IN MY HEART AND PRAYERS 

CASED MELISSA SEPLOWITZ


HOW TO CREATE & ASSEMBLE: 

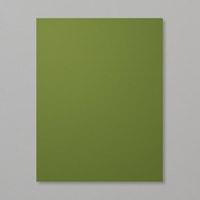
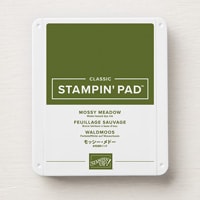
  1. Adhere the three strips (1” x 4 1/2”) of DSP to the piece (3 7/8” x 5 1/8”) of Mossy Meadow Cardstock.  Pay attention to the design when laying them down leaving @ 1/8” between strips. 
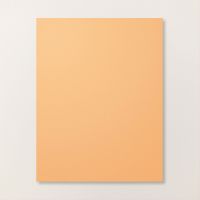
  2. Adhere this piece to the (4” x 5 1/4”) piece of Peach Pie cardstock.
  3. Adhere this to your card front.
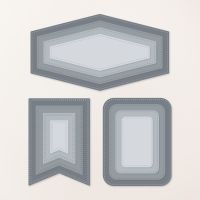
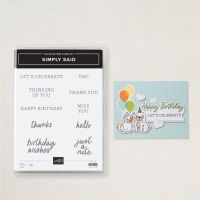
  4. On. scrap of Peach cardstock, stamp the sentiment then die cut. Adhere to the card front, lower right corner using mini dimensionals..
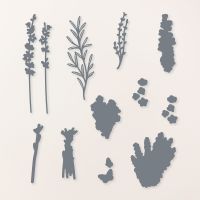
  5. Die cut some flowers and greenery from scraps of Mossy, Peach, and Petunia cardstocks and adhere to the card front left side.
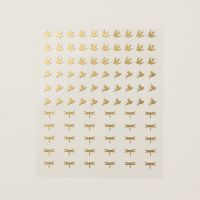
  6. Embellish with the adhesive-backed Birds.
  7. For the inside, stamp sentiment on the (4” x 5/14”) piece of white cardstock.   Then adhere thin strip of the DSP to the bottom.  Adhere this to the inside of your card.
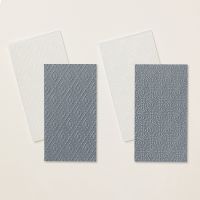
  8. Optional: Adhere a (2 1/4” x 6”) piece of the Petunia cardstock on the flap of your envelope and then run it through the die machine using the Fun Pattern Embossing Folder.

WHAT YOU’LL NEED:
Wednesday, August 28, 2024

Short Front, Fun Fold Friendship Card


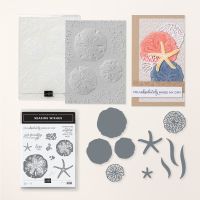
I am a beach person through and through and so this bundle really found its way into my heart and craft room!I hope to be creating more cards with it.  I'm sure you will enjoy it just as much as I am.

SHORT FRONT FUN FOLD FRIENDSHIP  CARD

Cased Juli Baca


HOW TO CREATE & ASSEMBLE: 

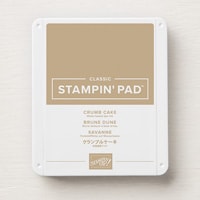
  1. Start with your (4 1/4” x 5 1/2”) piece of Crumb Cake Cardstock and randomly stamp pebbles in Crumb Cake ink. This will serve as the base of your card. Set aside for a moment. 
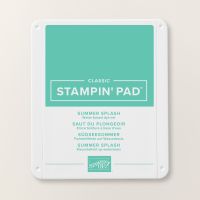
  2. Randomly stamp the dots in Summer Splash on the (3 1/2” x 5 1/2” scored at 1/2”) Summer Splash cardstock.  Fold and burnish at the score line.  Using glue or Stampin’ Seal, adhere the piece of Crumb Cake cardstock to the narrow strip making sure it is lined up to the score line. Set aside.
  3. Take the (1 3/4” x 5 1/2”) strip of white cardstock and using the blending brush and the Summer Splash ink add some color.  Then, tear down the length of the strip to create a rough edge like a wave. Adhere this to the to the card front lining up the straight edge side to the edge of the Summer Splash piece.  The wave will face the fold (left).
  4. Stamp on the (3” x 4 1/4”) white inside layer and on your envelope to coordinate.  Adhere this piece centered on the inside of the card .
  5. Stamp the sentiment on to a scrap piece of Crumb Cake Cardstock and die cut out with smallest Deckled rectangle die.  (Optional: you can stop sentiment right on to the card front once it’s assembled)
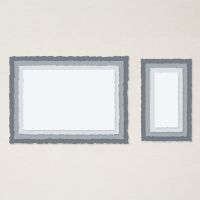
  6. Cut out the die pieces on Basic White (4 1/2” 5 1/4”) using the Hybrid Die and Embossing Folder. You can either leave your sand dollars white or using the blending brush and the crumb cake ink you can add some color.
  7. Now to assemble these to your card front, arranging your sand dollars in whatever order you prefer overlapping the summer splash cardstock and not going past the right edge of the card base but ensuring you are covering the inside white piece. 
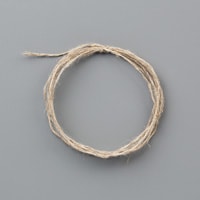
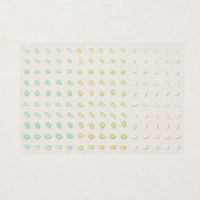
  8. Wrap your linen thread around your fingers once or twice to create small loop. Adhere to card front with mini glue dot and the using dimensionals, adhere the sentiment over the linen.  Adhere a couple of the faux sea glass shapes to the sentiment and you’re done! PHEW!

WHAT YOU’LL NEED:

Wednesday, August 21, 2024

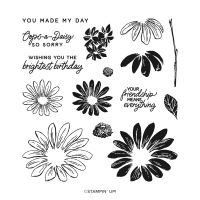
OOPS-A-DAISY BELATED BIRTHDAY

 This card is flexible in that you can use any designer Series Paper and colors you want. I accidentally used last year's DSP but the current one would be just as beautiful. 

OOPS-A-DAISY BELATED BIRTHDAY 


 HOW TO CREATE & ASSEMBLE: 
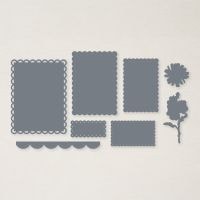
  1. Run your white cardstock through the emboss machine with all the different dies you will need to complete this card. 

  2. Stamp the inside sentiment on the larger Scalloped die and adhere to the inside of your card.
  3. Adhere the second sized white scalloped die to your card front centered in the middle.
  4. Adhere the (2 5/8” x 3 15/16”) piece of DSP centered on the white piece.
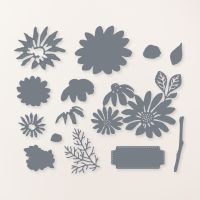
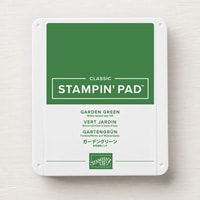
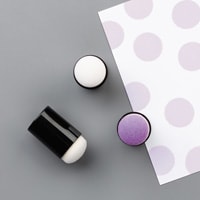
  5. Now to the daisies. . .the large die that has all three daisies attached; using the daubers, in the centers of your flowers in Daffodil and ink the leaf using the dauber in Garden Green.
  6. To the back of this larger die, adhere the “shadow” of the flowers.
  7. Flip it back over and adhere the detailed part of the flowers to the fronts of each flower. When finished, adhere the entire thing to your card front.  
  8. Stamp the sentiment on the small die then adhere this to your card front using mini dimensionals.  
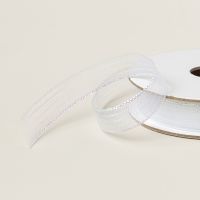
  9. Tie a bow and adhere with the glue dot.
  10. For the coordinating envelope, adhere a strip of DSP (2 1/8” x 5 3/4”) to the flap and then run it through the die cut machine to get the scalloped edge.

WHAT YOU’LL NEED:

Watercolor Birthday Card

I cased this card from a Stampin' Up! event that I attended.  It worked so well with the Watercolor Fluid  Paper and since I had not wor...