Pages

Wednesday, August 7, 2024

Split Criss Cross Card/Irresistible Blooms

 THANK YOU: IRRESISTIBLE BLOOMS 

SPLIT CARD CRISS CROSS

Cased Bibi Cameron


HOW TO CREATE & ASSEMBLE:

  1. Cut 6 (1/2” x 8”) strips of white cardstock.

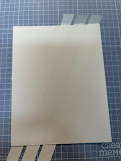
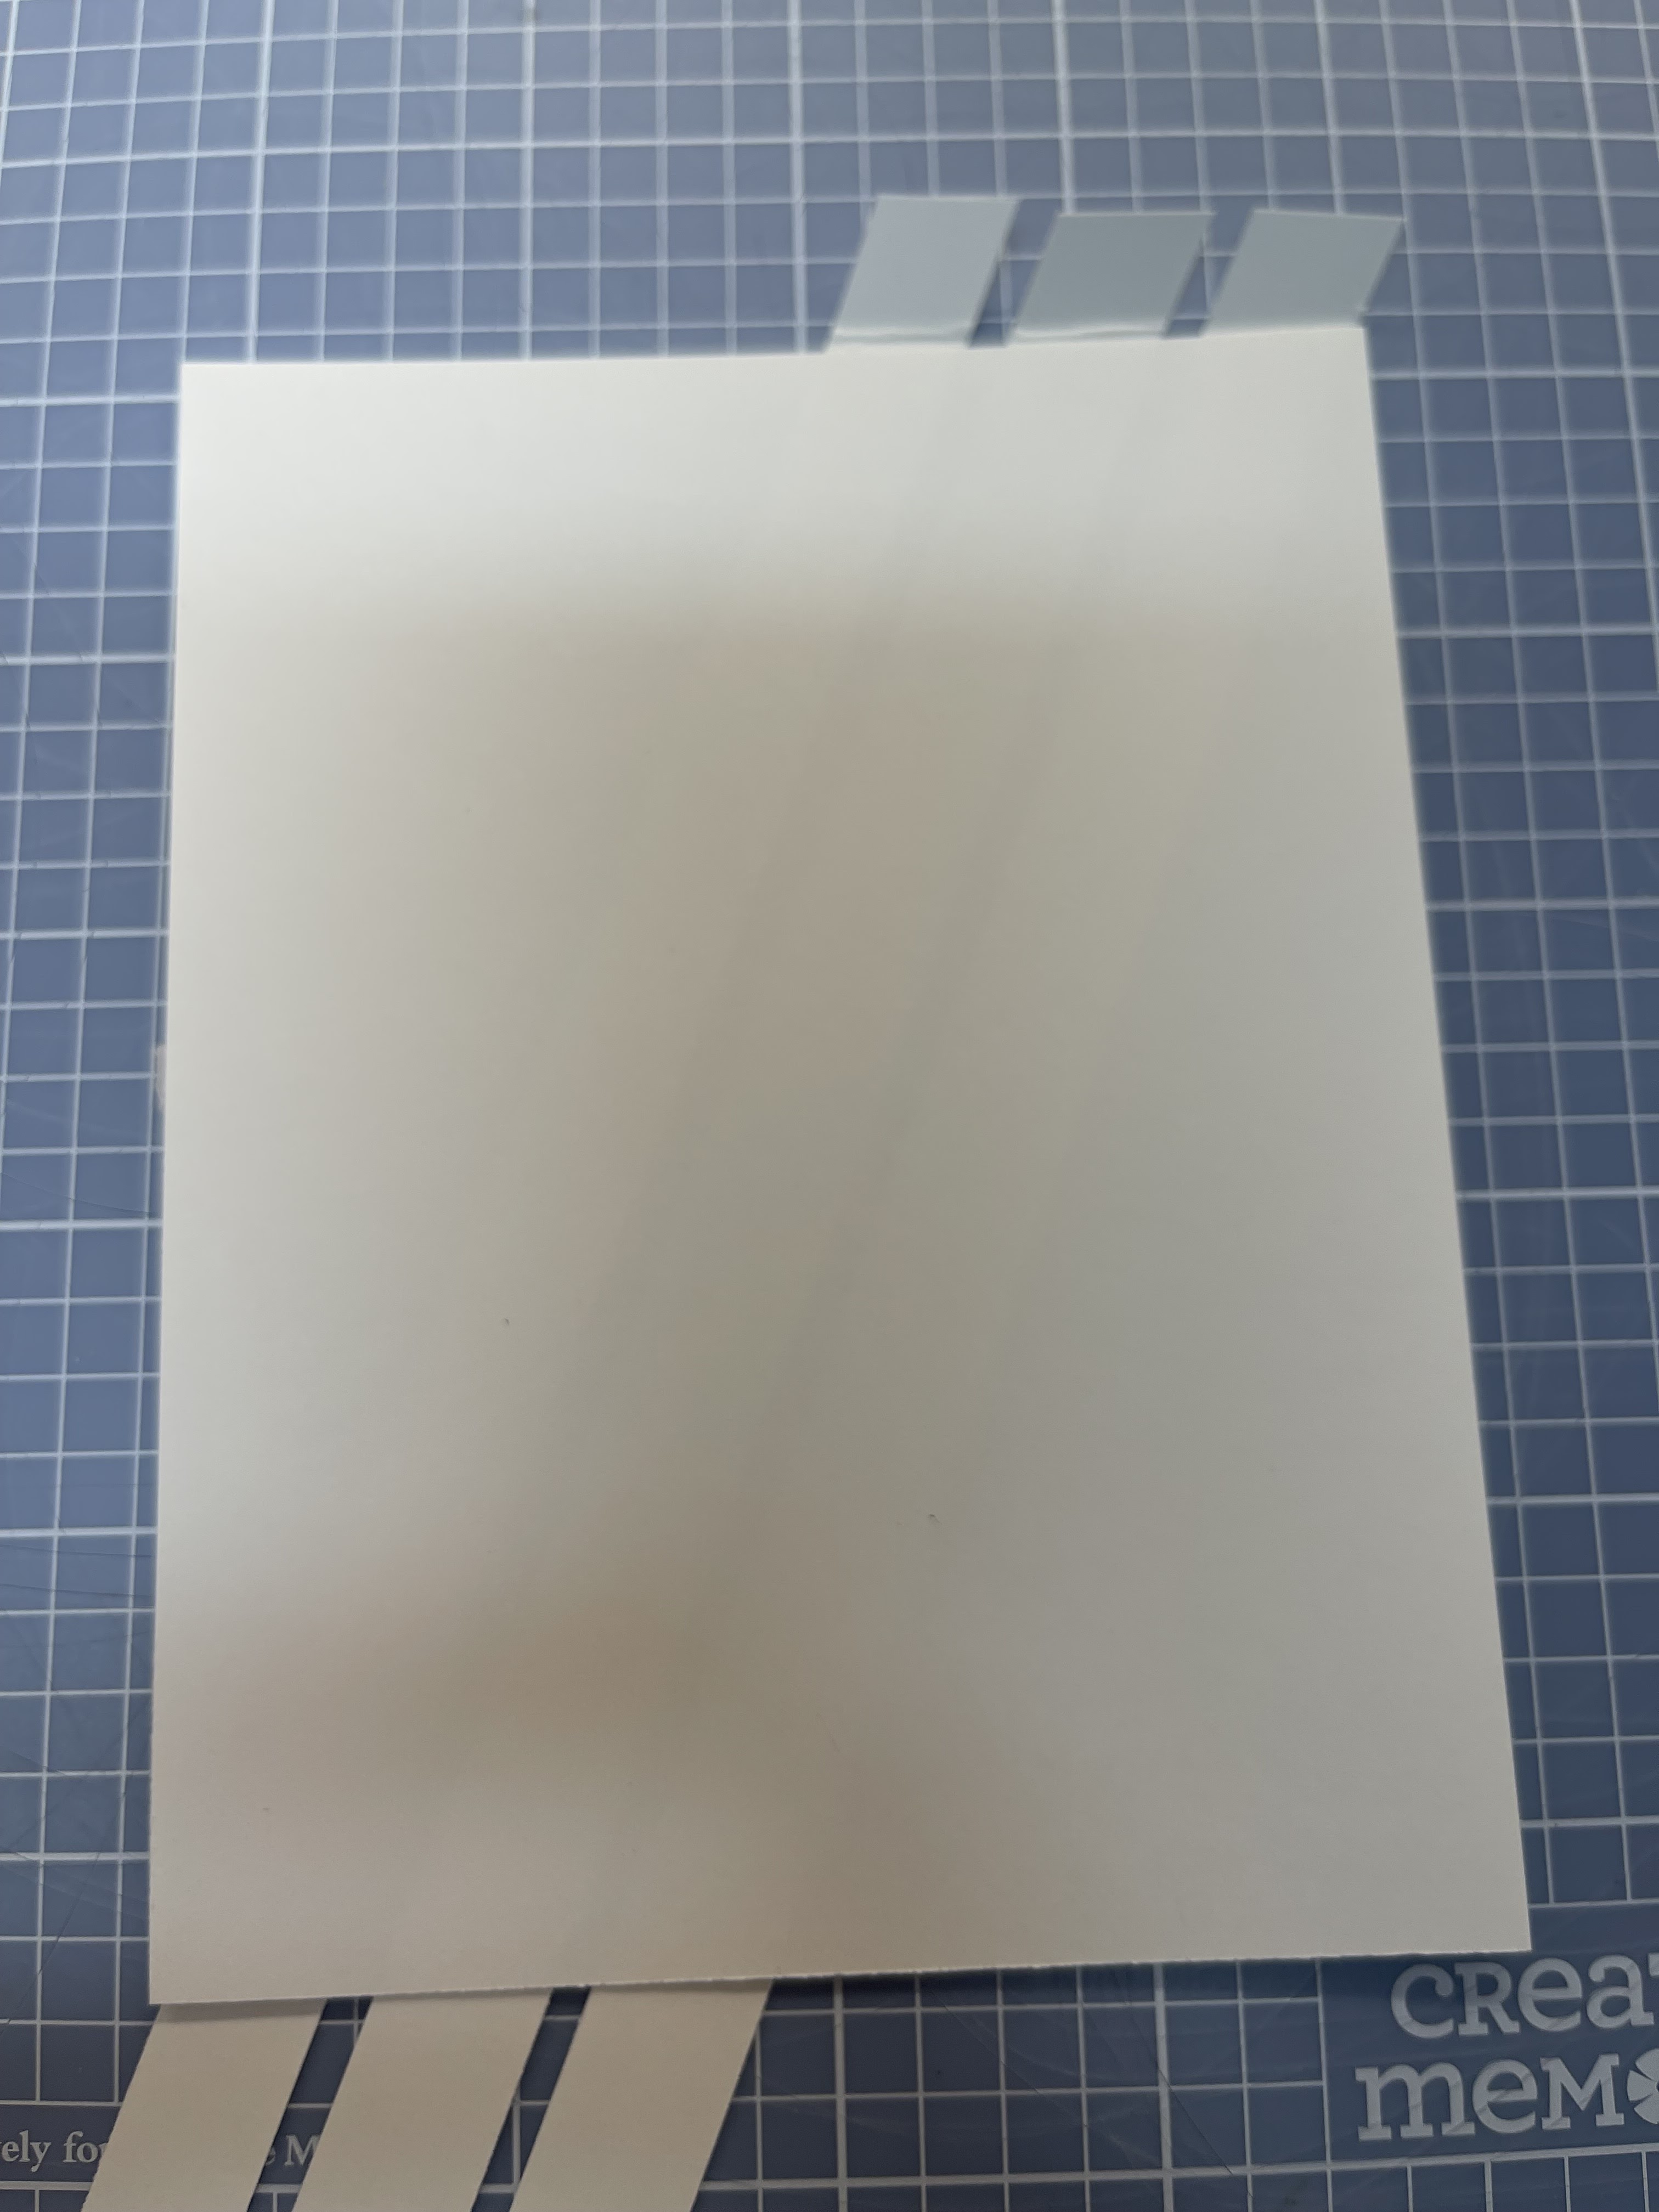
  2. Take your 4 1/4” x 5 1/2” piece of white cardstock laying flat on your work area then place three strips diagonally and parallel; overlapping the base at both ends. (Top and bottom)  Starting at the top left corner going down to the bottom right.  Spacing them so that the third strip is almost at the center of the top and crosses the bottom right corner. Use the low adhesive tape to lightly hold them in place. Carefully fold them back along the top edge, cut off some of the excess but leaving enough to fold and adhere on the back side.  Temporarily just leave the excess at the bottom. (See images) 


  3. Now take the other 3 strips laying them flat, also overlapping the base at both ends going diagonally  and parallel to one another from right to left with the first strip being just @ 1/2” away from the third L- R strip and crossing the bottom left corner and the third strip will be placed at the top right corner and it will overlap the first strip from the left to right diagonal strips. (See images) Tape to hold in place .  Fold back the excess at the top, trim a bit of the excess and adhere on the backside.  


    Trim off the excess from the bottom either with your snips or trimmer (see image)


  4. Now you have two choices to create a “trellis” so your strips won’t just be left 3 under 3 over.  You can use some liquid glue and adhere the strips where they overlap one another or, you can crisscross like a weave.  Your choice. Set this aside.  
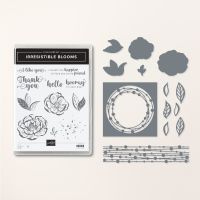
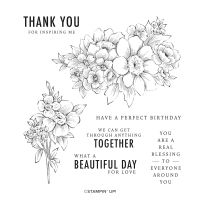
  5. On your other piece of white cardstock, (not the base - 4/ 1/4” x 11” scored at 5 1/2”) , stamp your flowers , the sentiment, and some leaves. Die cut the flowers and the leaves and fussy cut out the sentiment. Optional: While stamping, I would stamp my envelope so that it will coordinate with my card.
  6. Die cut a couple of leaves in Old Olive. Lay all of your pieces over your trellis and adhere down.
  7. Now you have to decide whether you want to adhere all the strips down to its base or allow them to just hang. (This gives it more of a 3D look) This whole piece will be adhered to your card front. 
  8. Fold your card at the score line and burnish. As a final touch, add a little bit of Wink of Stella to the flowers. 
  9. WHEW you’re DONE!! 

Wednesday, July 31, 2024

Bird's Eye View Friends

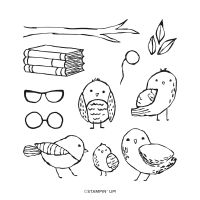
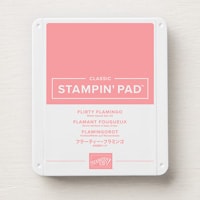
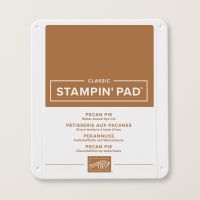
I love these little guys. I think they are so cute but sorry you have to fussy cut them out.  It's worth it! Also, I did not include on my supply list the scrap of Flirty Flamingo and Pecan Pie cardstocks.

 FRIENDS ARE A BLESSING 

CASED TAMMY WILSON


HOW TO CREATE AND ASSEMBLE: 

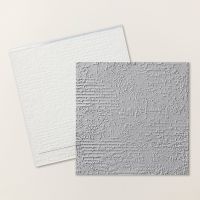
  1. Run the front cover of your card base (4 1/4 ‘ x 11”-scored at 5 1/2”) through the emboss machine with the Brick 3-D embossing folder. Fold and burnish on the fold. Set aside.
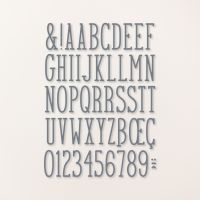
  2. Run the white (3 7/8” x 5 1/4”) piece of cardstock through the die cut machine with the letter dies however you would like them placed on your card front. You can't do them in a straight line as they won't fit across.  
  3. Place your die letters on your work area and place a thin strip of Washi tape across all letters, tape them in down.  Using the blending brushes and ink, ink your letters. Set aside. Be careful because the letters are very skinny so may fold or tear.
  4. Run your piece of adhesive foam through the die cut machine with the letter dies. (Run through 2-3 times to ensure it’s cut all the way through.) Remove the top layer of adhesive and then adhere the corresponding inked letter on top. Set aside.
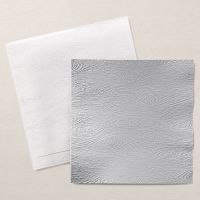
  5. Take the same white cardstock that you cut out the letters from and run it through the emboss machine in the Timber Embossing 3-D Folder.  Raggedly tear about an inch off the bottom. 
  6. Optional: If you would like to coordinate your envelope with the card, run the flap through the emboss machine with the timber embossing folder. 
  7. Adhere the (3 7/8” x 1 1/4”) strip of DSP on the back of the white torn piece bringing the two pieces together to measure 5 1/4” in length. Adhere this to the front of your card base.
  8. Now you can peel the back of the letters and adhere them to your card front in their corresponding places.
  9. Adhere the other (4” x 5 1/4”) piece of white cardstock to the inside of your card and adhere the strip of DSP along the bottom.
  10. Stamp branch on pecan cardstock with pecan ink then fussy cut out. Set aside.
  11. On the small scrap of flamingo cardstock. Stamp the sentiment using Versamark ink then sprinkle with embossing powder and heat emboss. Trim it down as needed.
  12. Stamp some birds on your small scrap piece of white cardstock then color them in and fussy cut them out.
  13. Arrange all the pieces on your card front and adhere them using your dimensionals.  
WHAT YOU'LL NEED: 

Watercolor Birthday Card

I cased this card from a Stampin' Up! event that I attended.  It worked so well with the Watercolor Fluid  Paper and since I had not wor...