Pages

Wednesday, March 19, 2025

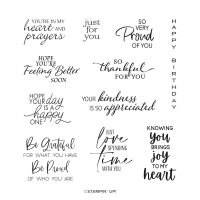
HOPE YOU’RE FEELING BETTER SOON FUN FOLD

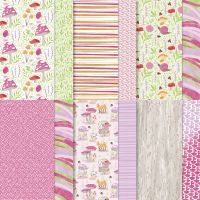
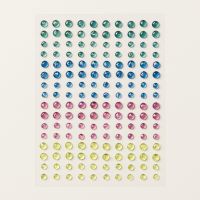
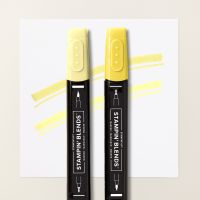
 The Designer Series Paper that I used is no longer available but feel to replace it with another one of your choice.  To Market, Lily Pond Lane,Thoughtful Journey . . . Also on my list of supplies, I did not include the Stampin' blends that I used.  Those colors I will leave up to you and I embellished with a little yellow gem in the middle of the potted flower and brown one on his nose.  Just use whichever gems you have on hand that will help your card "pop" a bit.  

HOPE YOU’RE FEELING BETTER SOON FUN FOLD


 HOW TO CREATE & ASSEMBLE: 

  1. Fold and burnish your card base (4 1/4” x 8 1/2” scored @3”) at the score line.
  2. Jon the short front flap adhere the (2 3/4” x 4”) piece of DSP.
  3. To the inside of. Your card, adhere the ( 4 “ x 5 1/4”)larger piece of DSP.
  4. Take your (3” x 8” scored @ 4”) Fresh Freesia inside card base.  Fold and burnish on score line.
  5. Adhere the (2 3/4” x 3 3/4”) piece of Pebbled Path cardstock to the front of that card. Stamp your design and sentiment to the ( 2/1/2” x 3 1/2”) smaller piece of white cardstock coloring however you would like.  Adhere this to the card front.
  6. On the slightly larger (2 3/4” x 3 3/4”) piece of white card stock stamp your inside sentiment and design.  Color in if needed.  Adhere this to the inside of this little card. 
  7. Adhere this card to the inside of your larger card allowing for one flap to fold over the other.  (See card)
  8. Embellish with a couple of gems.
  9. Adhere piece of DSP to the envelope flap and trim flap down.  The piece of DSP you have is @ 1/8” shy of being able to cover the entire flap so if you don’t feel comfortable trimming down the flap, don’t use it.

WHAT YOU’LL NEED:
Wednesday, March 12, 2025

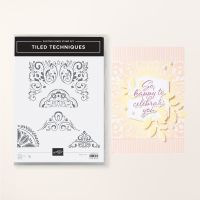
Tiled Technique Thank You

 TILED TECHNIQUE THANK YOU


HOW TO CREATE & ASSEMBLE:

  1. Die cut the shape in Vellum then stamp and set aside to dry.
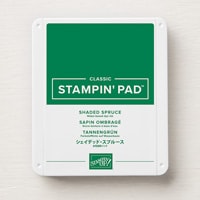
  2. Stamp the large tile image with the straight edge side all the way to the top of the (3 7/8” x 5 1/8”) piece of white cardstock.Turn and. Stamp the same on the bottom.  Adhere this to the (4 1/8” x 5 3/8”) piece of Shaded Spruce Cardstock and then to your card front.
  3. On the inside of your card in two opposing corners, stamp the smaller tile image and then the sentiment in the middle.
  4. While you have this smaller tile stamp inked, stamp the flap of your envelope to coordinate.
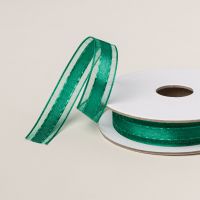
  5. Adhere your vellum sentiment to the center front of your card. Add a bow to the left and a gem on the right.
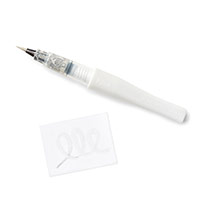
  6. (Optional): VERY Carefully trace over the letters with the Wink of Stella to give it a little sparkle. 

WHAT YOU’LL NEED: Product List


Wednesday, March 5, 2025

ALWAYS IN YOUR CORNER

I've included the Petunia Pop and Lemon Lolly cardstock but you only need a little scrap of each and you can opt for other colors.  We also used the Stamparatus which is no longer available but it made positioning the sentiments a little easier.

 ALWAYS IN YOUR CORNER

HOW TO CREATE & ASSEMBLE: 

  1. Adhere the (4” x 5 1/4” ) larger piece of Shamrock Cardstock to your card front.   (Note:  to save on cardstock, the smaller (3” x 4”) piece was cut out of the center.)
  2. We will be using the Stamparatus® however if you don’t have one, use Block E to stamp the sentiment in the top right hand corner  of the (3 3/4” x 5”) piece of white cardstock.  Adhere to your card front. 
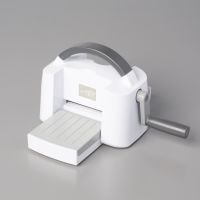
  3. Run the smaller (2 7/8” x 3 7/8”) piece of white cardstock through the emboss machine with the die placed on the lower left corner.  Adhere this to the piece of Shy Shamrock.  Adhere this to the lower left corner of your card front.
  4. Place adhesive sheets on the back of yourPetunia and Lolly scraps then run them through the die machine to get the petals and center of your flowers.  Peel the adhesive off and adhere into the flower die like missing puzzle pieces. 
  5. Stamp the inside sentiment and a small flower on the inside and color it in.
  6. Stamp envelope to coordinate

WHAT YOU’LL NEED:

Watercolor Birthday Card

I cased this card from a Stampin' Up! event that I attended.  It worked so well with the Watercolor Fluid  Paper and since I had not wor...