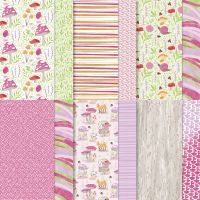
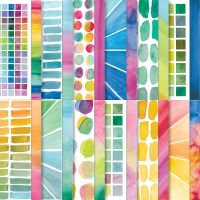
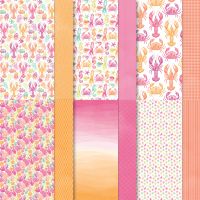
I fell involve with this Designer Series Paper as soon as I saw it but unfortunately it is not for sale in the catalog. The only way you can get it is by placing a $60 order and then you can choose it as a FREE Sale-A-Bration gift. Keep in mind that Sale-A-Bration ends on February 28 and is while supplies last.
POPPIN’ UP TO SAY HI! (Fun Fold)
.jpeg)
HOW TO CREATE & ASSEMBLE:
- Start with your 5 1/2” x 8” card base on thick white card stock score at 4 1/4”. So you will notice that one side of the card is shorter than the other. This shorter side is your card front.
- Adhere your (3 3/4” x 2” & 3 3/4” x 1 3/4") pieces of DSP on your card front. One along the top and the other along the bottom. (On a side note, technically you could just adhere a 3 3/4” x 5 1/2” piece of the DSP to the front but I did not want to run out of the DSP” plus cutting it this way left me a piece to adhere to the envelope flap.)
- Adhere the 1/2” x 5 1/2” strip of coordinating DSP on the right side of the inside of your card. (When you close your card front, you will see this strip down the side.)
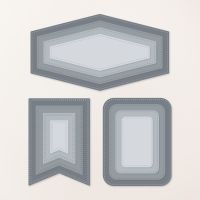
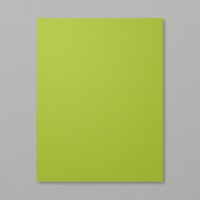
- Take the (2 1/4” x 4 1/2”) piece of Granny Apple Green card stock and run it through the die cut machine. Note that the die is shorter than the length of the card stock so when you run it through you won’t totally cover the die with the top plate. From the “banner” end to just about 3/4 of the way. Then you will run the piece through again placing the back end of the die (flat end) however this time the top plate will not cover the “banner” end of the die. If it doesn’t line up perfectly when you’re done, not to worry as you will have the large circle to cover the end where you merge the two cuts.
- Die cut out a 3” circle on the white cardstock
- You will have two additional pieces of white cardstock. The smaller one is for the sentiment. Stamp and die cut out set aside.
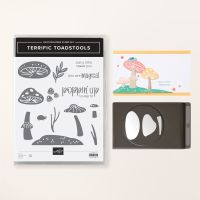
- The larger one is for the two mushroom caps. I placed the stamps on a Stamparatus ® plate lined up so that once you stamp one, leave card stock in place just flip the plate over and stamp the other mushroom cap and they will be perfectly lined up so that you can punch them out with the punch.
- Punch out 4 stems with the small strip of gray DSP. (This will allow you to make it look like they have a longer stem.)
- To create your focal design, stamp some”dirt on the bottom of your circle then adhere your mushrooms and adhere the sentiment over the stems suing Mini Stampin’ Dimensionals.
- Stamp little mushrooms on the inside of your card
- Adhere your leftover (2 1/4” x 6”) piece of DSP to the flap of your envelope and trim it out.
WHAT YOU’LL NEED:



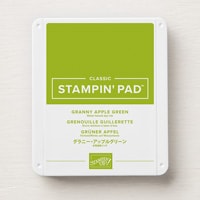







.jpeg)
.jpeg)


