Pages

Wednesday, February 12, 2025

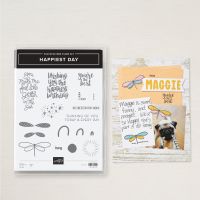
HAPPIEST DAY BIRTHDAY CARD

HAPPIEST DAY BIRTHDAY


 HOW TO CREATE AND ASSEMBLE: 

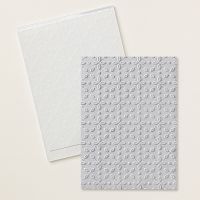
  1. Run the card front through the embossing machine in the 3D folder. (Do the same to the envelope flap while you are at it.)
  2. Adhere the strip of DSP to the strip of white cardstock.  Adhere to the card front.
  3. Stamp and die cut the sentiment leaving space on the white cardstock to stamp 4 dragonflies. Adhere the sentiment to the card front using dimensionals®
  4. Stamp the dragonflies in black. Then pick whichever colors you want to use to fill in the wings.  In all cases, ink the lighter shade of the ink on the stamp and then use the dauber to tap a little additional color to the stamp and then stamp. Fussy cut them out and adhere them with mini dimensionals® to your card front. Stamp a dragonfly or two to the inside of your card and on your envelope if you would like.
  5. Stamp a sentiment on the inside .
  6. Adhere the bow and some gems.

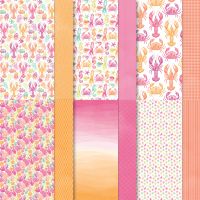
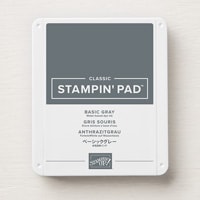
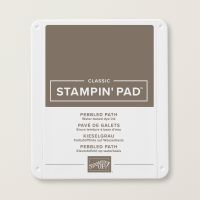
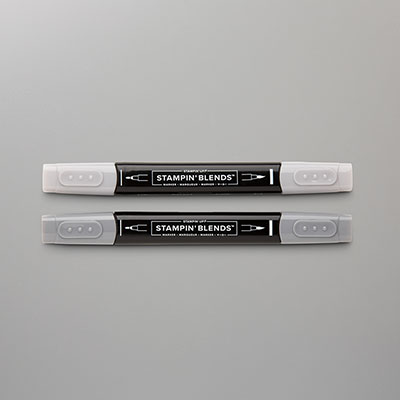
WHAT YOU WILL NEED:
Wednesday, February 5, 2025


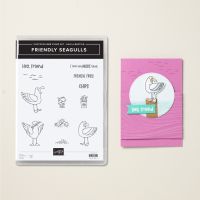
LOVE YOU MORE THAN FRENCH FRIES

Like last week's card, this card is using a stamp set that cannot be purchased, however it can be earned for FREE with a qualifying purchase ow through February 28, 2025 While supplies last. 


HOW TO CREATE & ASSEMBLE: 

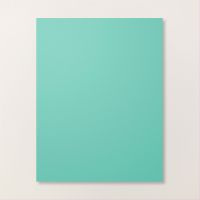
  1. Adhere the piece of Summer Splash cardstock centered to the front of your card base.
  2. Adhere the piece of DSP centered to the front of your card base on the Summer Splash.
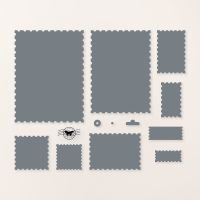
  3. Die cut out three “postage stamps” in white cardstock.  In each one star a different seagull.  Use Stampin’ Blends to add a touch of color.
  4. Adhere the three “stamps” each to their own small mat of Summer Splash cardstock.  Adhere these to your card base.  
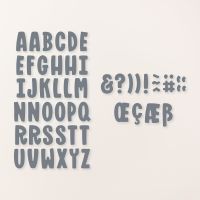
  5. Die cut out the letters (HEY!) in SS then adhere them to the lower right hand corner of the card front.
  6. Stamp sentiment on the inside using Stampin’ Blends to add a touch of color.
  7. For your coordinating envelope, stamp a seagull on the lower left front corner of the envelope.  Before you add the color with your blends, slide a scrap piece of paper in the envelope so that the ink won’t bleed through to the back of the envelope. 

WHAT YOU’LL NEED:

Wednesday, January 29, 2025

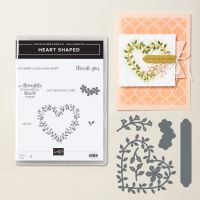
HEART SHAPED VALENTINE

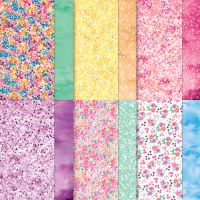
Please note that this card is made with two products (Heart Shaped Bundle & Bloom Impressions DSP) that cannot be purchased.  You can earn them for FREE with your qualifying purchases during  our Sale-A-Bration.  Sale-A-Bration  runs Jan. 7 through Feb. 28, 2025 and supplies are while they last.  If you like these I suggest you order as soon as possible.  You can use whichever gems you have on hand to embellish your flowers.  


HOW TO CREATE & ASSEMBLE: 

  1. Stamp the heart sentiment  in the middle of one of the white pieces of cardstock then diet the heart around it, set the heart and the sentiment to the side.
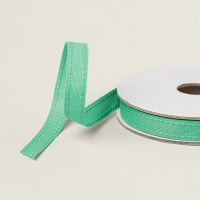
  2. Adhere your piece of DSP” to this piece of white cardstock.  Run the ribbon around the lower portion and adhere on the back side.
  3. Adhere this to the front of your card base. Set aside.
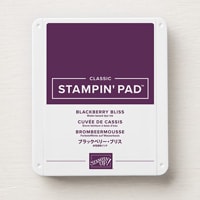
  4. Take a piece of Blackberry cardstock and die cut out a heart.  From the center piece, die cut out three little flowers. See the sample I have for you. 
  5. Repeat step 3 using the Daffodil cardstock.
  6. Lay your two hearts down on your card front deciding how you would like to place them and then insert the sentiment into the heart of choice.  Adhere this all down.
  7. Take two of each color flower and adhere to the edges of your hearts.  Embellish with gems in their centers.
  8. Add a bow to the front.
  9. For the inside of your card, stamp the sentiment on your other piece of white cardstock and adhere the additional flowers wherever you would like to place them.  Adhere this to the inside of your card.
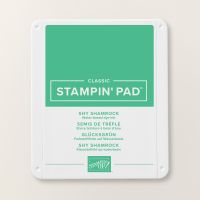
  10. For your envelope, stamp the heart in Shy Shamrock on the back of the envelope.

WHAT YOU’LL NEED:

Watercolor Birthday Card

I cased this card from a Stampin' Up! event that I attended.  It worked so well with the Watercolor Fluid  Paper and since I had not wor...