Pages

Wednesday, January 22, 2025

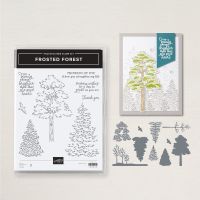
FROSTED FOREST SYMPATHY

 FROSTED FOREST SYMPATHY 


HOW TO CREATE & ASSEMBLE:

  1. Okay, where to start?  Let’s start with the tree masking layer.  
    1. Place the white cardstock on your workspace and use a piece of washi tape to hold it in place your mat.
    2. Using the espresso ink, stamp your tree outline.
    3. Set the #1 mask down lining the trunk over the outline you just stamped.  Mark the notch on your workspace so that you can set the subsequent ones in the same spot. Ink the tree trunk using the blending brush and either pecan pie or espresso ink.  Remove the mask.
    4. Place Mask #2 over the paper lining up the notch.  Using a new blending brush, ink with this mask using Garden Green. Remove the mask.
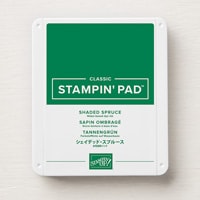
    5. Place Mask #3 over the paper lining up the notch.  Using a new blending brush, ink with this mask using Shaded Spruce ink. 
    6. Die cut the tree out and set aside.
  2. On your next piece of white cardstock use a blending brush and espresso ink, de-stress all around the paper,  When happy with how it looks, take the edge of your snips and go all the way around the paper to rough up the edges.  
  3. Take your ribbon and wrap it around the bottom of this piece adhering the ends on the back side.
  4. Adhere the die cut tree on this using dimensionals then set aside.
  5. Take your small scrap of white cardstock, die cut out the shape and then stamp the sentiment inside.  Adhere this using dimensionals over the ribbon and bottom of the tree trunk.
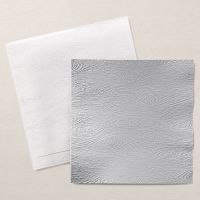
  6. Take the piece of cajun Craze cardstock and run it through the embossing machine in the timber 3D folder. Adhere this at an angle to the card front.
  7. Adhere the piece with the tree  over this on your card front.
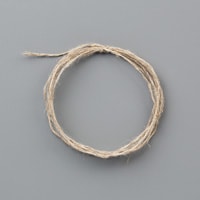
  8. Take your linen thread and tie a double bow and adhere using glue dot.
  9. Got the inside of your card, stamp the sentiment and the dove flying away.
  10. A couple of options on your envelope. 
  • Simply emboss the envelope flap in the Timber 3D embossing folder;  easiest option
  • Take one of the stencils of the bare trees and using a blending brush and ink color of your choice, blend over the stencil leaving a silhouette on the front of the card; or
  • You can die cut out the bare trees in Pecan and adhere to your envelope front.  (This option is tough because you don’t want it to get ripped off the envelope when it is mailed. You have to be extremely careful with how you adhere it)

WHAT YOU’LL NEED:
Wednesday, January 1, 2025

DOTTED CIRCLES EMBOSSED BIRTHDAY

 HAPPY NEW YEAR!

WOW! Ready or not, 2025 is here!  I hope you all had a wonderful Holiday season and may this new year be a healthy and prosperous one.  Here's a playful way to start your new year.

I absolutely fell in love with this card when I saw it online!  It is so fun and colorful. You do need to buy 6" x 6" envelopes elsewhere to be able to mail this card and unfortunately, Stampin' up! does not carry them.  I will be trying this with other colors; maybe different shades of blue for a masculine card? Have fun with it.

DOTTED  CIRCLES  EMBOSSED BIRTHDAY 

Cased kerryscardsuk


HOW TO CREATE & ASSEMBLE: 

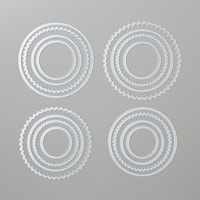
  1. Die cut or punch out circles in different sizes and colors.  Adhere these randomly on to your (5 1/4”sq.) square piece of white cardstock. Punch some for your envelope flap and for the inside of your card.
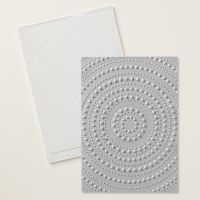
  2. Run the white cardstock through the embossing machine in the Dotted Circle’s 3D Embossing folder.  Adhere this to the front of your card base (5 1/5” x 11” scored at 5 1/2”). Set aside. (Optional: Run the envelope flap through the embossing machine too.)
  3. Stamp sentiment on one of the (1” x 5 1/4”) white strips of cardstock. Adhere to the card front using dimensionals. 
  4. On the other (1” x 5 1/4”) strip of white, adhere a couple of small Circes and adhere this to the inside of your card along the left margin.
  5. Stamp any other sentiment you may want to the inside of your card.

WHAT YOU’LL NEED:

Wednesday, December 25, 2024

THINKING OF YOU

MERRY CHRISTMAS I HOPE YOU ARE SPENDING THIS BLESSED DAY WITH FAMILY AND FRIENDS. 🎄🎄

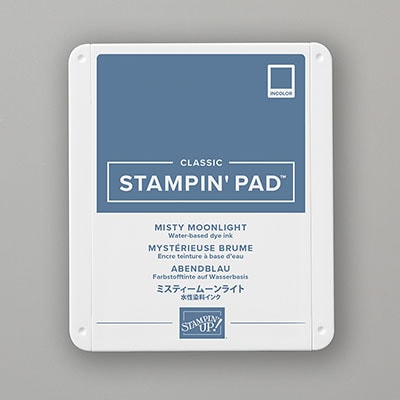
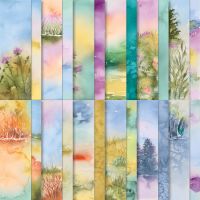
This Designer Series paper lends itself to make so many very simple cards because the paper is beautiful and can stand alone with just a simple sentiment. In my supplies list, I did not include the Misty Moonlight cardstock because all I used was a 1/2" strip.  This crd is quick and easy to assemble.

 THINKING OF YOU

HOW TO CREATE & ASSEMBLE:

  1. Fold and burnish your card base (5 1/2” x 8 1/2” scored @ 4 1/4”)
  2. Adhere the (3 1/2” x 5”) piece of DSP centered along the right edge of the card.
  3. Stamp your sentiment on the small strip of white cardstock. Adhere this, off set, to the strip (1/2” x 3 1/2”) of Misty cardstock.
  4. Using dimensionals adhere this to your card front 
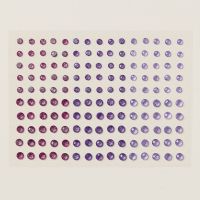
  5. Embellish with a couple of gems.
  6. For the inside, adhere a strip of the same DSP to the (4” x 5 1/4”) piece of white cardstock (on whichever edge you want) and adhere this to the inside of your card.
  7. Optional: Adhere a strip of the DSP to the front left edge of your envelope.

WHAT YOU’LL NEED:  

Watercolor Birthday Card

I cased this card from a Stampin' Up! event that I attended.  It worked so well with the Watercolor Fluid  Paper and since I had not wor...