Pages

Wednesday, October 23, 2024

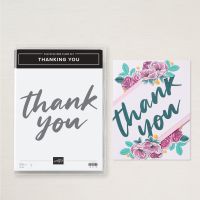
"Thanking You" Big Time


This card is super easy to make!  You can use any Designer Series Paper or just any color of cardstock.  You don't even have to heat emboss, you can just use any ink color you want and then it's even easier to make! Who doesn't need a simple Thank You card. make a bunch of them at once to have on hand.

THANKING YOU BIG TIME!

Cased Lisa Bowden


HOW TO CREATE & ASSEMBLE:  

  1. Fold and burnish your (5 1/2” x 8 1/2” scored at 4 1/4”) card base on the score line.
  2. Adhere your (4” x 5 1/4”) piece of white cardstock to your card front. 
  3. Adhere your (3 7/8” x 5 1/8”) piece of white cardstock to the inside of your card. Adhere the (7/8” x 3 7/8”) strip of DSP on to this on the left side. Set card aside.
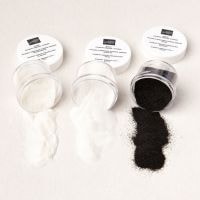
  4. Stamp your (3 7/8” x 5 1/8”) piece of DSP with the sentiment in Versamark.  Cover with embossing powder shaking off excess then heat with the heat tool.
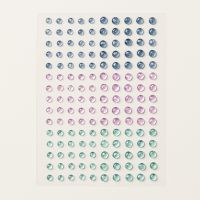
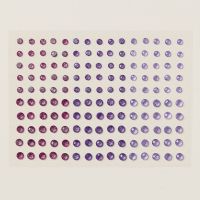
  5. Adhere this piece to your card front. Embellish with a few gems.
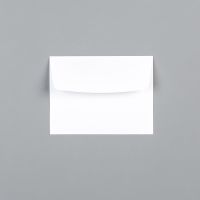
  6. For your envelope (optional) Adhere the (2 1/8” x 6”) strip of DSP to the flap then trim off any excess.

WHAT YOU’LL NEED:

Wednesday, October 16, 2024

Staggered Funfold Card

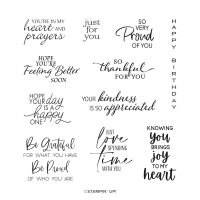
 KNOWING YOU BRINGS JOY TO MY HEART BIRTHDAY

Staggered Gatefold Cased Queen B


 HOW TO CREATE & ASSEMBLE:

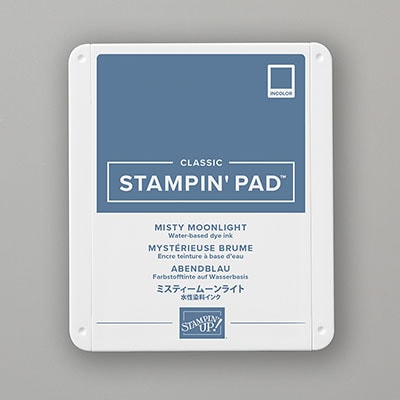
  1. Your card base is the 4 1/4” x 5 1/2” piece of Misty cardstock
  2. Take your (4 1/4” x 3 3/4” scored at 2 3/4’) piece of Misty card stock, fold it on the score line, place your adhesive on the narrow strip and adhere this to the front-left side of your card base, ensuring the the score line is lined up with the lower left edge of the base.
  3. Next, take the other (2 3/4 ‘ x 4 1/2’ scored at 3 1/2”) piece of Misty cardstock, fold it on the score line, place your adhesive on the narrow strip and adhere this to the front-right side of your card base bringing it up a little higher so that when it folds over, it will be centered over the left side flap.  Again, be sure that the score line is perfectly lined up with the right edge of your card base.
  4. Adhere the (4” x 5 1/4”) piece of Mauve cardstock to the front of your card covering the flaps that you just adhered down so that you won’t see them.
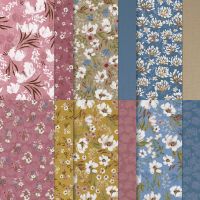
  5. Adhere your (3 3/4” x 5” ) piece of DSP over that cardstock.
  6. Adhere the (1” x 2 1/2”) strip of DSP to the bottom of the (2 1/2” x 4”) piece of white cardstock then adhere this to the inside of the left flap.
  7. Adhere your other (2 1/2” x 3 1/4”) piece of white cardstock to the inside of the right-side flap.
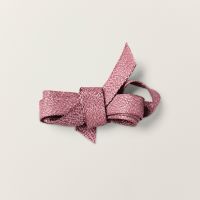
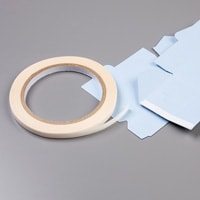
  8. Now close your right-side flap and take your (18”) piece of ribbon and lay it across the middle with enough to go around the back of the card and come forward to tie a bow on the left side of the card. Tear & Tape or Stampin Seal work best here.
  9. Next, adhere the (2 1/2” x 3 1/4”) piece of Mauve cardstock over the ribbon,  followed by the (2 1/4” x 3”) piece of DSP.
  10. To the front of the left side flap, adhere the (2 1/2” x 4”) piece of Mauve cardstock followed by the (2 1/4” x 3 3/4”) piece of DSP..
  11. With your last piece of white cardstock, die cut out two (@2-2 1/4”) circles and stamp your sentiment on them.  Adhere on to the inside of your card and the other to the front right-side flap.
  12. Fold your card closed and bring the ribbon around the back, adding a strip of Tear & Tape or Seal to the back to hold the ribbon in place. (You do not have to do this if you would rather not.) , bringing the ribbon around and tying a bow on the left front of your card. 
  13. Add a couple of gems to embellish.
  14. Finally to make your envelope coordinate, adhere a (2 1/4” x 6”) strip of coordinating DSP to the flap of your envelope and trim.  

WHAT YOU’LL NEED:

Wednesday, October 9, 2024

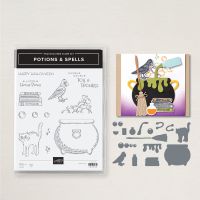
Potions & Spells Halloween Fun Fold

POTIONS & SPELLS HALLOWEEN 

              Fun Fold


 HOW TO CREATE & ASSEMBLE:

  1. Card base (4 1/4” x 11”) Score @5 1/2”, then cut at a diagonal. Keep the piece you cut off for your cauldron. (This step has been done for you.)
  2. Fold and Burnish on the score line.
  3. Take your (5 1/4” x 4”) DSP and cut on the diagonal. * If your DSP has a direction you want to lay it be sure to figure it out before you cut it. If you make a mistake, that’s okay you can have your card open on the right side instead of the left.
  4. Adhere. Your DSP triangles on to your card base. One triangle on the front flap and the other on the base leaving @1/16” border around.Set aside.
  5. Die cut your cauldron and broom stick in the piece of Black cardstock.
  6. Small card base (3 1/4” x 6 1/2” scored at 3 1/4”) in pumpkin. Fold and burnish on the score line.
  7. Die cut bubbles and “spill over” in old olive and grape cardstocks. Create the scene on the front of the small card using dimensional to adhere the cauldron. 
  8. Die cut the bottom of the broom on a scrap of DSp of choice. 
  9. Stamp and die cut the Happy halloween Sentiment. Set it aside.
  10. Stamp and color the design on the 3” square of white cardstock.
  11. Adhere it to the inside of the small card.
  12. Open up the large card base and glue the small card base in the center.
  13. Adhere the broom to the front flap of large card base.
  14. Adhere the greeting ti the back of the large card base using dimensional.
  15. Add some gems to embellish.
  16. Adhere DSP to the flap of your envelope and trim stop fit the flap.

WHAT YOU’LL NEED:

Watercolor Birthday Card

I cased this card from a Stampin' Up! event that I attended.  It worked so well with the Watercolor Fluid  Paper and since I had not wor...