HOPING YOUR DAY IS PERFECT
Cased Rachel Tessman
HOW TO CREATE & ASSEMBLE:
- Fold and burnish your card base (4 ¼” x 11” scored at 5 ½”) on the score line and set it aside.
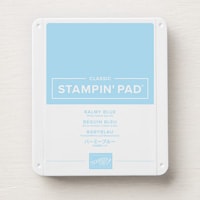
- Let’s start with the easiest part first. Take your small (2 ¼” x 2 ¼” ) piece of white cardstock and stamp the inside sentiment in the ink color of your choice. (I used Balmy Blue)
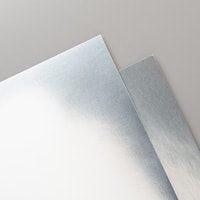
- Adhere this piece to the small (2 ⅜” x 2 ⅜”) square of silver foil and adhere this to the inside of your card. Set aside again.
- Now, take the (3 ¾” x 3 ¾”) larger square of white cardstock and start inking it to look like the waters and the sand. Set it aside. (OPTIONAL: At this point, I opted to also ink the flap of my envelope to coordinate.) * PLEASE BE SURE NOT TO MIX THE BLENDING BRUSHES IN THE DIFFERENT INK COLORS* (I have provided one for each color)
- Take the (3 ½” x 5 ½”) large piece of thick white cardstock and run it through the die cut machine with the two wave dies. I opted to leave the narrower wave white but you can ink it if you’d like but very carefully so that you do’t tear the die, using the blending brushes, ink the color you would like to make your waves.
- When you’re happy with the way your wave looks, adhere the thinner wave onto it. (You can line it up perfectly or leave a bit of a margin. . .your choice)
- Once this is done, you are going to adhere this centered across the inked square you did in step 4. You want it centered because the ends that you will trim off will be added to the base. (OPTIONAL) At this point, if you would like to add a touch of Wink of Stella to the waves, go for it.
- Carefully trim off the excess on each side making sure not to throw the pieces away and keeping them on the correct side.
- Adhere this to the (3 ⅞” x 3 ⅞”) larger silver foil square.
- Without adhering it, set this on your card front so that you know where to stamp the front sentiment. Stamp the sentiment.
- Noting where you are placing your framed beach scene, adhere the two pieces you trimmed off with liquid glue to the card base.
- Adhere the framed scene to the card front using Stampin’ Dimensionals®
- For the shells, on your last scrap (@1 ½” x 4”) of thick white cardstock, use the blending brushes to color the card stock. Once you have the colors you want, run it through the die cut machine with the shells die. The piece of cardstock should be big enough that you can get an additional shell or two cut out.
- Adhere these to your card wherever you would like them placed. You can even place some on the inside.
- I opted to embellish with a few pieces of Faux Sea Glass Shapes (sorry they are no longer available)
WHAT YOU’LL NEED:


![Rolling Waves Bundle (English) [ 167145 ] Rolling Waves Bundle (English) [ 167145 ]](https://assets1.tamsnetwork.com/images/EC042017NF/167145s.jpg)
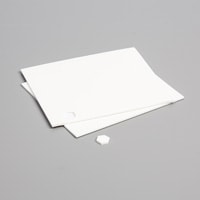
![Basic White 8 1/2" X 11" Thick Cardstock [ 159229 ] Basic White 8 1/2" X 11" Thick Cardstock [ 159229 ]](https://assets1.tamsnetwork.com/images/EC042017NF/159229s.jpg)
![Silver Foil Sheets [ 132178 ] Silver Foil Sheets [ 132178 ]](https://assets1.tamsnetwork.com/images/EC042017NF/132178s.jpg)
![Balmy Blue Classic Stampin' Pad [ 147105 ] Balmy Blue Classic Stampin' Pad [ 147105 ]](https://assets1.tamsnetwork.com/images/EC042017NF/147105s.jpg)
![Barely Blush Classic Stampin Pad [ 167678 ] Barely Blush Classic Stampin Pad [ 167678 ]](https://assets1.tamsnetwork.com/images/EC042017NF/167678s.jpg)
![Blueberry Bushel Classic Stampin' Pad [ 147138 ] Blueberry Bushel Classic Stampin' Pad [ 147138 ]](https://assets1.tamsnetwork.com/images/EC042017NF/147138s.jpg)
![Calypso Coral Classic Stampin' Pad [ 147101 ] Calypso Coral Classic Stampin' Pad [ 147101 ]](https://assets1.tamsnetwork.com/images/EC042017NF/147101s.jpg)
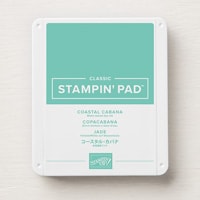
![Coastal Cabana Classic Stampin' Pad [ 147097 ] Coastal Cabana Classic Stampin' Pad [ 147097 ]](https://assets1.tamsnetwork.com/images/EC042017NF/147097s.jpg)
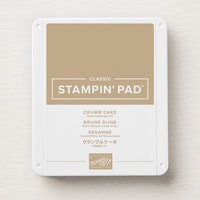
![Crumb Cake Classic Stampin' Pad [ 147116 ] Crumb Cake Classic Stampin' Pad [ 147116 ]](https://assets1.tamsnetwork.com/images/EC042017NF/147116s.jpg)
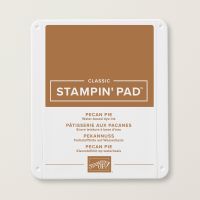
![Pecan Pie Classic Stampin' Pad [ 161665 ] Pecan Pie Classic Stampin' Pad [ 161665 ]](https://assets1.tamsnetwork.com/images/EC042017NF/161665s.jpg)
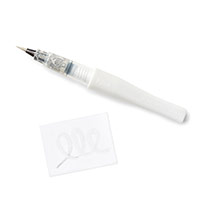
![Clear Wink Of Stella Glitter Brush [ 141897 ] Clear Wink Of Stella Glitter Brush [ 141897 ]](https://assets1.tamsnetwork.com/images/EC042017NF/141897s.jpg)
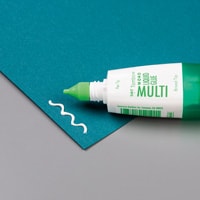
![Multipurpose Liquid Glue [ 110755 ] Multipurpose Liquid Glue [ 110755 ]](https://assets1.tamsnetwork.com/images/EC042017NF/110755s.jpg)
![Stampin' Dimensionals [ 104430 ] Stampin' Dimensionals [ 104430 ]](https://assets1.tamsnetwork.com/images/EC042017NF/104430s.jpg)
![Clear Block G [ 118489 ] Clear Block G [ 118489 ]](https://assets1.tamsnetwork.com/images/EC042017NF/118489s.jpg)
![Clear Block H [ 118490 ] Clear Block H [ 118490 ]](https://assets1.tamsnetwork.com/images/EC042017NF/118490s.jpg)
![Clear Block I [ 118488 ] Clear Block I [ 118488 ]](https://assets1.tamsnetwork.com/images/EC042017NF/118488s.jpg)
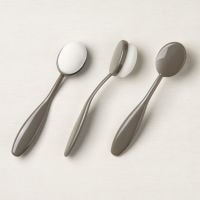
![Blending Brushes [ 153611 ] Blending Brushes [ 153611 ]](https://assets1.tamsnetwork.com/images/EC042017NF/153611s.jpg)
![Stampin' Cut & Emboss Machine [ 149653 ] Stampin' Cut & Emboss Machine [ 149653 ]](https://assets1.tamsnetwork.com/images/EC042017NF/149653s.jpg)
![Basic White Medium Envelopes [ 159236 ] Basic White Medium Envelopes [ 159236 ]](https://assets1.tamsnetwork.com/images/EC042017NF/159236s.jpg)
No comments:
Post a Comment