I know that "lavender" implies lavender color but these flowers are so beautiful you can use and combination of colors. You can also use this stamp set to create your own "Designer" paper to use as a background to other cards. Once I played with this stamp set, I LOVED it. have fun.
PAINTED LAVENDER THANK YOU
HOW TO CREATE & ASSEMBLE:
- The technique used on the front will also be used on the envelope and on the inside of your card. So when you do one, repeat on the other two materials.
- Fold and burnish our card base. Set aside.
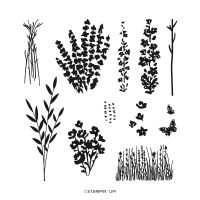
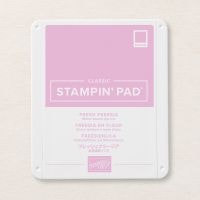
- To create the scene, you will start stamping using the lighter of your colors (in this case being the Fresh Freesia) stamping the fuller of the floral stems multiple times across the front of your card. Starting from the right side about 3/4 of the way up and slightly descending towards the left. I stamped off a couple of times to offer variation in the shades.
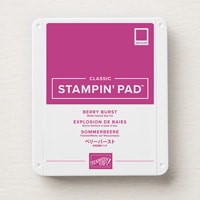
- Next you will stamp with the darker of the inks ( Berry Burst) and the skinnier floral stem. Stamp over the lighter stems. They will not line up perfectly and add where. You would like them. You can also use the stamping off technique to have some slightly lighter.
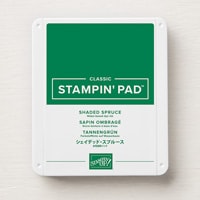
- Come in and fill in with the Shaded Spruce, stamping and stamping off.
- Now use the blending brush starting off the paper in a circular motion working on to the paper. If it’s too light you can always go over it but if your start on the paper an it is to dark you cannot lighten it. Stamp butterfly. Adhere this to your card front.
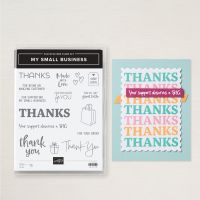
- Stamp the sentiment on the inside. And adhere to the inside.
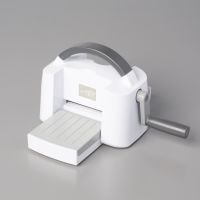
- On your small piece of white, stamp thank you sentiment and run through die cut machine.
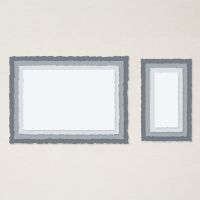
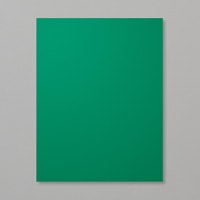
- Run the piece of Spruce cardstock with the next size up deckled rectangle through the die cut machine. Adhere the sentiment to this the adhere to the card front using dimensionals.
- Add a couple of gems to embellish.
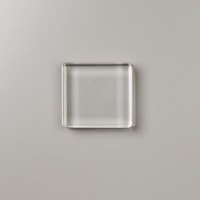
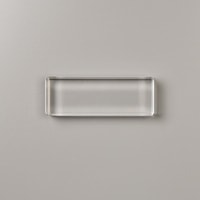
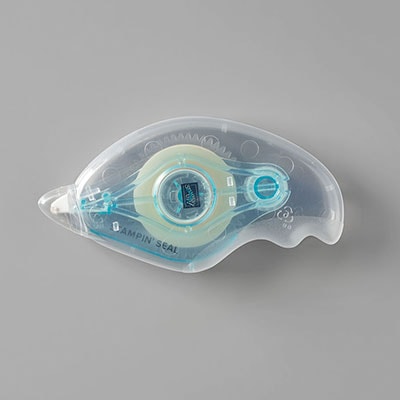
WHAT YOU’LL NEED:
.jpeg)







.jpeg)
No comments:
Post a Comment