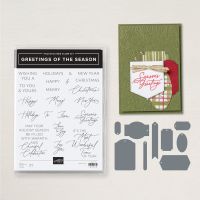
This is another card we made as a "Mystery Card" at our team meeting and I thought it was so fun and creative I had to share it with my customers. Thank you Patti for sharing. Any color cardstock and any Designer Series Paper will work depending on the occasion. You can include a gift card or not.
GIFT CARD “BOX” CARD
cased Patti Galegher
HOW TO CREATE AND ASSEMBLE:
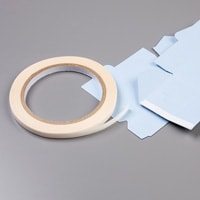
- Fold and burnish your card base (5” x 7” scored at 3 1/4”) on the score line. Open and put a thin strip of glue (or tear and tape) on the sides of the front fold to create a “pocket”. Set aside.
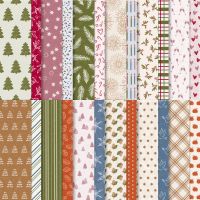
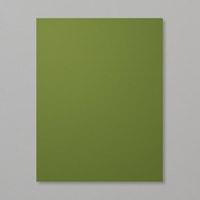
- Adhere your DSP strips (3 1/4” x 1 1/4” & 5 1/4” x 1 1/4”)to the corresponding pieces of Mossy cardstock (3 1/4” 1 3/8” & 5 3/8” x 1 3/8”).
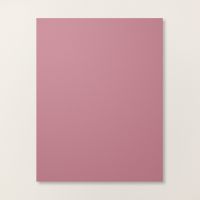
- Adhere the longer strip to the strip of Mauve cardstock (5 1/2” x 1 1/2”) and the other strip gets centered and adhered to the front cover.
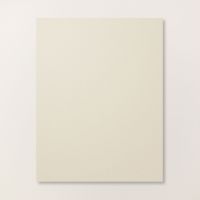
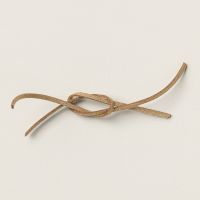
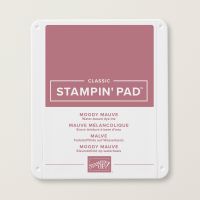
- On the small scrap of Beige cardstock, stamp sentiment in Moody Mauve then die cut. Run the ribbon through and tie a bow. Set aside.
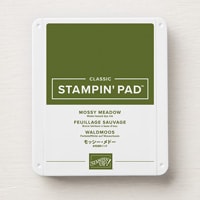
- Stamp sentiment in Mossy on the (3 3/4” x 4”) piece of Beige cardstock. Run a thin strip of glue (or Tear & Tape) across the top and adhere your other strip from step 3centered across the top. This will slide in to the pocket making the card look like a gift box.
- Adhere your tag and bow to front flap.
- Embellish with a couple of gems.
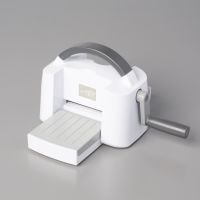
- Since I did not have more DSP to make the envelope coordinate, I ran the flap of the envelope through the Emboss machine with a Christmas embossing folder.
WHAT YOU’LLL NEED:
.jpeg)
.jpeg)



.jpeg)
No comments:
Post a Comment