My daughter is in town and she created the card for me. I love having her help me. I just wish she didn't live across the country. Thankful for FaceTime so I can get her thoughts on the projects I work on.
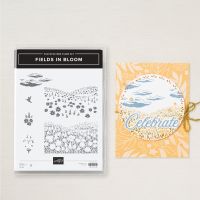
FIELDS IN BLOOM BIRTHDAY CARD
Card by Lauryn
HOW TO CREATE & ASSEMBLE:
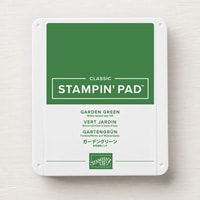
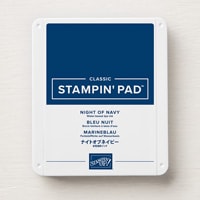
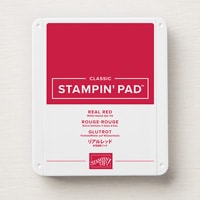
- On the smaller (3 1/2” x 4 1/4”) piece of white cardstock, stamp the fields starting with the Garden Green then the blooms in Real Red. Then add in some clouds stamping with the Night of Navy. ( Stamp off if you would like your clouds lighter.)Take the circle, (the inside of the die) place it over the scene you stamped and lightly trace around it then fussy cut the circle out. (Circle should be @ 3.33”) OPTIONAL: Stamp the envelope flap with some clouds to coordinate with your card.
- Run the piece of Real Red Cardstock through the die cut machine using the corresponding die. Adhere your field scene to the center of the red circle.
- Fold and burnish your card base (3 1/4” x 8 1/2 scored at 3”)
- Adhere the (4 “ x 5 1/4”) piece of white cardstock to the inside of your card.
- Adhere the circle to the flap making sure to only use glue on the portion that sticks to the flap.
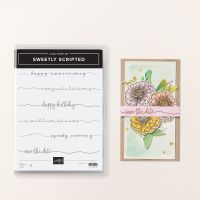
- On your white strip of cardstock, stamp the sentiment. Trim down to the size you want it. Mat it with the strip of red cardstock. Adhere to the card front using dimensionals.
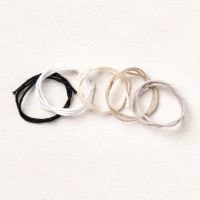
- Tie a small ribbon in the white bakers twine into a bow and adhere it to your card front.
.jpeg)






.jpeg)
No comments:
Post a Comment