Pages

Wednesday, July 31, 2024

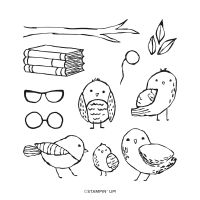
Bird's Eye View Friends

I love these little guys. I think they are so cute but sorry you have to fussy cut them out.  It's worth it! Also, I did not include on my supply list the scrap of Flirty Flamingo and Pecan Pie cardstocks.

 FRIENDS ARE A BLESSIN

CASED TAMMY WILSON


HOW TO CREATE AND ASSEMBLE: 

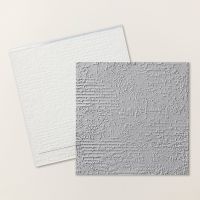
  1. Run the front cover of your card base (4 1/4 ‘ x 11”-scored at 5 1/2”) through the emboss machine with the Brick 3-D embossing folder. Fold and burnish on the fold. Set aside.
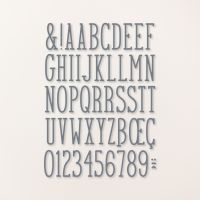
  2. Run the white (3 7/8” x 5 1/4”) piece of cardstock through the die cut machine with the letter dies however you would like them placed on your card front. You can't do them in a straight line as they won't fit across.  
  3. Place your die letters on your work area and place a thin strip of Washi tape across all letters, tape them in down.  Using the blending brushes and ink, ink your letters. Set aside. Be careful because the letters are very skinny so may fold or tear.
  4. Run your piece of adhesive foam through the die cut machine with the letter dies. (Run through 2-3 times to ensure it’s cut all the way through.) Remove the top layer of adhesive and then adhere the corresponding inked letter on top. Set aside.
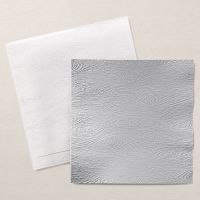
  5. Take the same white cardstock that you cut out the letters from and run it through the emboss machine in the Timber Embossing 3-D Folder.  Raggedly tear about an inch off the bottom. 
  6. Optional: If you would like to coordinate your envelope with the card, run the flap through the emboss machine with the timber embossing folder. 
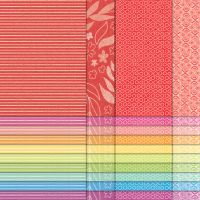
  7. Adhere the (3 7/8” x 1 1/4”) strip of DSP on the back of the white torn piece bringing the two pieces together to measure 5 1/4” in length. Adhere this to the front of your card base.
  8. Now you can peel the back of the letters and adhere them to your card front in their corresponding places.
  9. Adhere the other (4” x 5 1/4”) piece of white cardstock to the inside of your card and adhere the strip of DSP along the bottom.
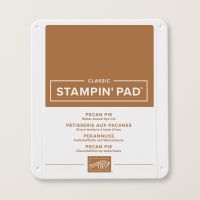
  10. Stamp branch on pecan cardstock with pecan ink then fussy cut out. Set aside.
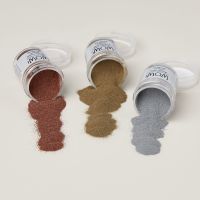
  11. On the small scrap of flamingo cardstock. Stamp the sentiment using Versamark ink then sprinkle with embossing powder and heat emboss. Trim it down as needed.
  12. Stamp some birds on your small scrap piece of white cardstock then color them in and fussy cut them out.
  13. Arrange all the pieces on your card front and adhere them using your dimensionals.  
WHAT YOU'LL NEED: 

Wednesday, July 24, 2024

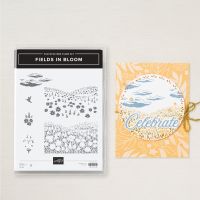
Fields in Bloom Birthday Card

My daughter is in town and she created the card for me.  I love having her help me.  I just wish she didn't live across the country. Thankful for FaceTime so I can get her thoughts on the projects I work on.     

FIELDS IN BLOOM BIRTHDAY CARD

Card by Lauryn 


HOW TO CREATE & ASSEMBLE: 

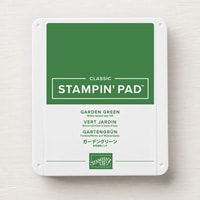
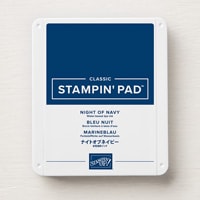
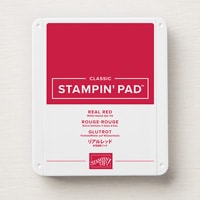
  1. On the smaller (3 1/2” x 4 1/4”) piece of white cardstock, stamp the fields starting with the Garden Green then the blooms in Real Red. Then add in some clouds stamping with the Night of Navy. ( Stamp off if you would like your clouds lighter.)Take the circle, (the inside of the die) place it over the scene you stamped and lightly trace around it then fussy cut the circle out.  (Circle should be @ 3.33”) OPTIONAL: Stamp the envelope flap with some clouds to coordinate with your card.
  2. Run the piece of Real Red Cardstock through the die cut machine using the corresponding die.  Adhere your field scene to the center of the red circle.  
  3. Fold and burnish your card base (3 1/4” x 8 1/2 scored at 3”)
  4. Adhere the (4 “ x 5 1/4”) piece of white cardstock to the inside of your card.
  5. Adhere the circle to the flap making sure to only use glue on the portion that sticks to the flap.  
  6. On your white strip of cardstock, stamp the sentiment.  Trim down to the size you want it. Mat it with the strip of red cardstock.  Adhere to the card front using dimensionals.
  7. Tie a small ribbon in the white bakers twine into a bow and adhere it to your card front.

WHAT YOU’LLL NEED: Product List 

Wednesday, July 17, 2024

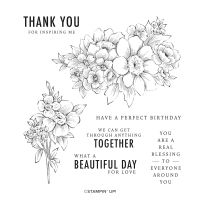
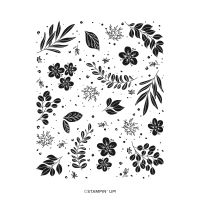
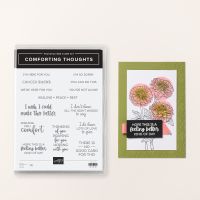
Botanical Beauty Feel Better Soon

I think the Soft Sea Foam and the Gorgeous Grape cardstock go together so beautifully. There is such a simple and clean feeling about this card.  I used a ribbon that has been retired but there is a great selection of ribbons for you to choose from to add to your card to make it "yours".   

BOTANICAL BEAUTY FEEL BETTER SOON


HOW TO CREATE & ASSEMBLE: 

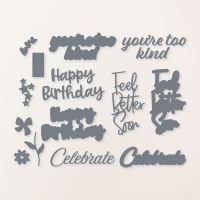
  1. Run your two small piece of Grape and Sea Foam Cardstock through the die cut machine with the corresponding dies.  Adhere together and set aside.
  2. Ink the botanical stamp in sea foam and then using either the ink spots, the blending brushes , or the sponge daubers, Add grape ink to the flowers and mossy ink to some of the leaves then stamp one of the (3 3/4” x 5”) pieces of white cardstock.  Adhere this to the Gorgeous Grape  (4” x 5 1/4”) piece of cardstock.
  3. OPTIONAL: Stamp the flap of your envelope and the bottom 1/2” (or so) of the inside piece of white cardstock.
  4. Wrap the (@6”) ribbon around the left margin of the piece from step 2.  Then tie a bow with an additional piece of ribbon and adhere on with glue dot. Adhere this entire piece to the front of your card base (5 1/2” x 8 1/2” scored at 4 1/4”)
  5. Adhere the sentiment you die cut, using mini dimensionals just to the right of the ribbon on your card front.
  6. Take the additional piece of white cardstock, stamp with the inside sentiment and then adhere it to the inside of your card. And that’s all she wrote!

WHAT YOU’LL NEED: 

DAD, THANKS FOR BEING THE BEST

  DAD, THANKS FOR BEING THE BEST HOW TO CREATE & ASSEMBLE: Run three (2” x 3 1/2”) pieces of DSP through the Die machine with the corr...