Pages

Wednesday, December 25, 2024

THINKING OF YOU

MERRY CHRISTMAS I HOPE YOU ARE SPENDING THIS BLESSED DAY WITH FAMILY AND FRIENDS. 🎄🎄

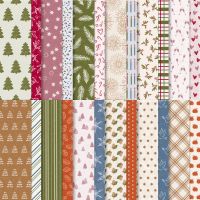
This Designer Series paper lends itself to make so many very simple cards because the paper is beautiful and can stand alone with just a simple sentiment. In my supplies list, I did not include the Misty Moonlight cardstock because all I used was a 1/2" strip.  This crd is quick and easy to assemble.

 THINKING OF YOU

HOW TO CREATE & ASSEMBLE:

  1. Fold and burnish your card base (5 1/2” x 8 1/2” scored @ 4 1/4”)
  2. Adhere the (3 1/2” x 5”) piece of DSP centered along the right edge of the card.
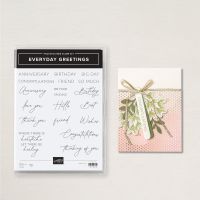
  3. Stamp your sentiment on the small strip of white cardstock. Adhere this, off set, to the strip (1/2” x 3 1/2”) of Misty cardstock.
  4. Using dimensionals adhere this to your card front 
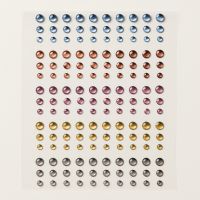
  5. Embellish with a couple of gems.
  6. For the inside, adhere a strip of the same DSP to the (4” x 5 1/4”) piece of white cardstock (on whichever edge you want) and adhere this to the inside of your card.
  7. Optional: Adhere a strip of the DSP to the front left edge of your envelope.

WHAT YOU’LL NEED:  

Wednesday, December 18, 2024

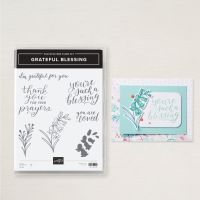
I’M SO GRATEFUL FOR YOU

 I’M SO GRATEFUL FOR YOU

 HOW TO CREATE & ASSEMBLE:

  1. Fold and burnish your card base.
  2. Adhere the (4” x 5 1/4”) piece of Mauve cardstock to the front.
  3. Adhere the (2 1/2” x 4 3/4”) piece of DSP to the left of the card front.
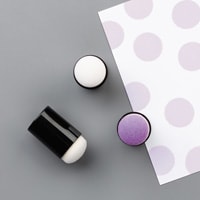
  4. Stamp the sentiment on the (3/4” x 3 1/2”) strip of white cardstock. (Optional: de-stress with espresso ink and dauber). Adhere to the (1” x 3 3/4”) strip of espresso cardstock. Set aside.
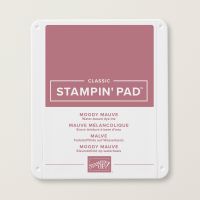
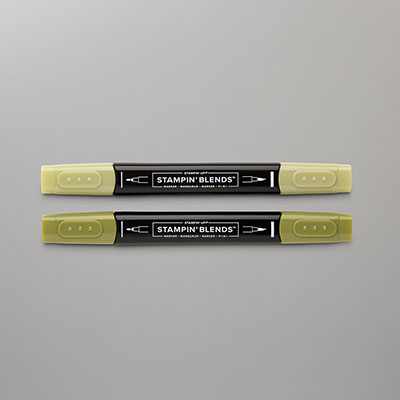
  5. Stamp your floral image on the (2 1/2” x 3 1/2”) piece of white cardstock in espresso.  Then to fill in the flowers, ink the stamp with mauve ink then stamp off before stamping over the flowers to fill in. Color the leaves in with Old Olive. 
  6. Optional: De-stress with the espresso ink and dauber.
  7. Adhere this to the Early Espresso (2 5/8” x 3 5/8”) then adhere to your card front.
  8. Using Dimensionals® adhere the sentiment to your card front.  
  9. Repeat step 5 for the inside of your card and for the front of your envelope.
  10. Stamp sentiment on the white piece for the inside.  (I opted to play with the daubers and add de-stressing to the inside piece with both early Espresso and Old Olive.) Adhere this to the inside of your card.

WHAT YOU’LL. NEED:

Wednesday, December 11, 2024

GIFT CARD “BOX” CARD

 This is another card we made as a "Mystery Card" at our team meeting and I thought it was so fun and creative I had to share it with my customers.  Thank you Patti for sharing. Any color cardstock and any Designer Series Paper will work depending on the occasion.  You can include a gift card or not. 

GIFT CARD “BOX” CARD

cased Patti Galegher


 HOW TO CREATE AND ASSEMBLE: 

  1. Fold and burnish your card base (5” x 7” scored at 3 1/4”) on the score line.  Open and put a thin strip of glue (or tear and tape) on the sides of the front fold to create a “pocket”. Set aside.
  2. Adhere your DSP strips (3 1/4” x 1 1/4” & 5 1/4” x 1 1/4”)to the corresponding pieces of Mossy cardstock (3 1/4” 1 3/8” & 5 3/8” x 1 3/8”).
  3. Adhere the longer strip to the strip of Mauve cardstock (5 1/2” x 1 1/2”) and the other strip gets centered and adhered to the front cover.
  4. On the small scrap of Beige cardstock, stamp sentiment in Moody Mauve then die cut. Run the ribbon through and tie a bow.  Set aside.
  5. Stamp sentiment in Mossy on the (3 3/4” x 4”) piece of Beige cardstock. Run a thin strip of glue (or Tear & Tape) across the top and adhere your other strip from step 3centered across the top.  This will slide in to the pocket making the card look like a gift box.  
  6. Adhere your tag and bow to front flap.
  7. Embellish with a couple of gems.
  8. Since I did not have more DSP to make the envelope coordinate, I ran the flap of the envelope through the Emboss machine with a Christmas embossing folder. 

WHAT YOU’LLL NEED:

Wednesday, December 4, 2024

PAINTED LAVENDER THANK YOU

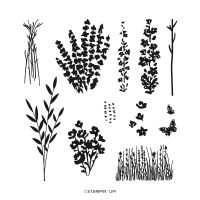
I know that "lavender" implies lavender color but these flowers are so beautiful you can use and combination of colors. You can also use this stamp set to create your own "Designer" paper to use as a background to other cards.  Once I played with this stamp set, I LOVED it. have fun. 

PAINTED LAVENDER THANK YOU

HOW TO CREATE & ASSEMBLE:

  1. The technique used on the front will also be used on the envelope and on the inside of your card. So when you do one, repeat on the other two materials.  
  2. Fold and burnish our card base. Set aside.
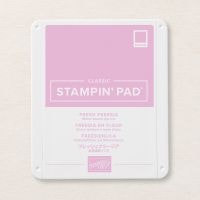
  3. To create the scene, you will start stamping using the lighter of your colors (in this case being the Fresh Freesia) stamping the fuller of the floral stems multiple times across the front of your card. Starting from the right side about 3/4 of the way up and slightly descending towards the left.  I stamped off a couple of times to offer variation in the shades.
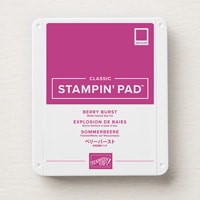
  4. Next you will stamp with the darker of the inks ( Berry Burst) and the skinnier floral stem.  Stamp over the lighter stems.  They will not line up perfectly and add where. You would like them.  You can also use the stamping off technique to have some slightly lighter.
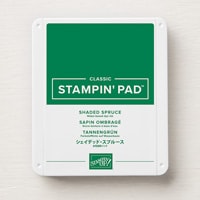
  5. Come in and fill in with the Shaded Spruce, stamping and stamping off. 
  6. Now use the blending brush starting off the paper in a circular motion working on to the paper.  If it’s too light you can always go over it but if your start on the paper an it is to dark you cannot lighten it.  Stamp butterfly. Adhere this to your card front.  
  7. Stamp the sentiment on the inside. And adhere to the inside.
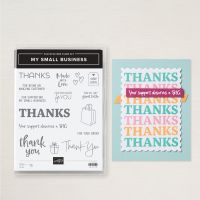
  8. On your small piece of white, stamp thank you sentiment and run through die cut machine. 
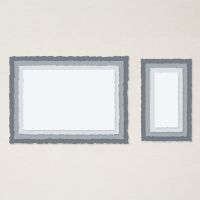
  9. Run the piece of Spruce cardstock with the next size up  deckled rectangle through the die cut machine.  Adhere the sentiment to this the adhere to the card front using dimensionals.
  10. Add a  couple of gems to embellish.

WHAT YOU’LL NEED: 

DAD, THANKS FOR BEING THE BEST

  DAD, THANKS FOR BEING THE BEST HOW TO CREATE & ASSEMBLE: Run three (2” x 3 1/2”) pieces of DSP through the Die machine with the corr...