Pages

Wednesday, January 29, 2025

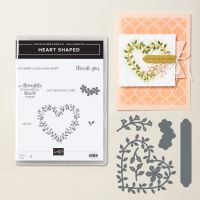
HEART SHAPED VALENTINE

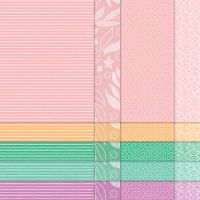
Please note that this card is made with two products (Heart Shaped Bundle & Bloom Impressions DSP) that cannot be purchased.  You can earn them for FREE with your qualifying purchases during  our Sale-A-Bration.  Sale-A-Bration  runs Jan. 7 through Feb. 28, 2025 and supplies are while they last.  If you like these I suggest you order as soon as possible.  You can use whichever gems you have on hand to embellish your flowers.  


HOW TO CREATE & ASSEMBLE: 

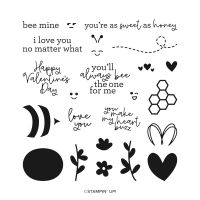
  1. Stamp the heart sentiment  in the middle of one of the white pieces of cardstock then diet the heart around it, set the heart and the sentiment to the side.
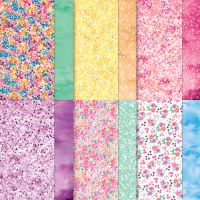
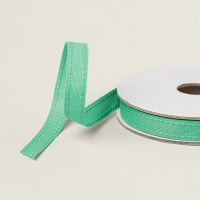
  2. Adhere your piece of DSP” to this piece of white cardstock.  Run the ribbon around the lower portion and adhere on the back side.
  3. Adhere this to the front of your card base. Set aside.
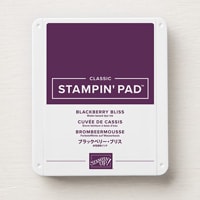
  4. Take a piece of Blackberry cardstock and die cut out a heart.  From the center piece, die cut out three little flowers. See the sample I have for you. 
  5. Repeat step 3 using the Daffodil cardstock.
  6. Lay your two hearts down on your card front deciding how you would like to place them and then insert the sentiment into the heart of choice.  Adhere this all down.
  7. Take two of each color flower and adhere to the edges of your hearts.  Embellish with gems in their centers.
  8. Add a bow to the front.
  9. For the inside of your card, stamp the sentiment on your other piece of white cardstock and adhere the additional flowers wherever you would like to place them.  Adhere this to the inside of your card.
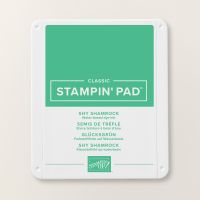
  10. For your envelope, stamp the heart in Shy Shamrock on the back of the envelope.

WHAT YOU’LL NEED:

Wednesday, January 22, 2025

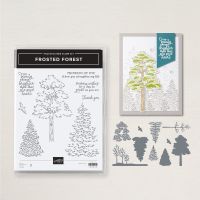
FROSTED FOREST SYMPATHY

 FROSTED FOREST SYMPATHY 


HOW TO CREATE & ASSEMBLE:

  1. Okay, where to start?  Let’s start with the tree masking layer.  
    1. Place the white cardstock on your workspace and use a piece of washi tape to hold it in place your mat.
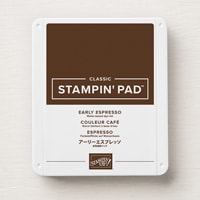
    2. Using the espresso ink, stamp your tree outline.
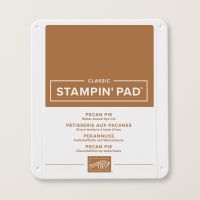
    3. Set the #1 mask down lining the trunk over the outline you just stamped.  Mark the notch on your workspace so that you can set the subsequent ones in the same spot. Ink the tree trunk using the blending brush and either pecan pie or espresso ink.  Remove the mask.
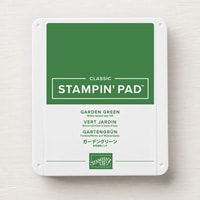
    4. Place Mask #2 over the paper lining up the notch.  Using a new blending brush, ink with this mask using Garden Green. Remove the mask.
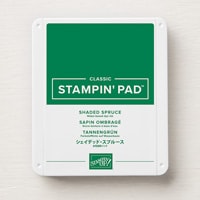
    5. Place Mask #3 over the paper lining up the notch.  Using a new blending brush, ink with this mask using Shaded Spruce ink. 
    6. Die cut the tree out and set aside.
  2. On your next piece of white cardstock use a blending brush and espresso ink, de-stress all around the paper,  When happy with how it looks, take the edge of your snips and go all the way around the paper to rough up the edges.  
  3. Take your ribbon and wrap it around the bottom of this piece adhering the ends on the back side.
  4. Adhere the die cut tree on this using dimensionals then set aside.
  5. Take your small scrap of white cardstock, die cut out the shape and then stamp the sentiment inside.  Adhere this using dimensionals over the ribbon and bottom of the tree trunk.
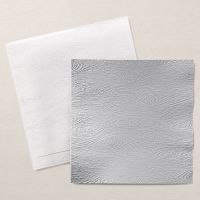
  6. Take the piece of cajun Craze cardstock and run it through the embossing machine in the timber 3D folder. Adhere this at an angle to the card front.
  7. Adhere the piece with the tree  over this on your card front.
  8. Take your linen thread and tie a double bow and adhere using glue dot.
  9. Got the inside of your card, stamp the sentiment and the dove flying away.
  10. A couple of options on your envelope. 
  • Simply emboss the envelope flap in the Timber 3D embossing folder;  easiest option
  • Take one of the stencils of the bare trees and using a blending brush and ink color of your choice, blend over the stencil leaving a silhouette on the front of the card; or
  • You can die cut out the bare trees in Pecan and adhere to your envelope front.  (This option is tough because you don’t want it to get ripped off the envelope when it is mailed. You have to be extremely careful with how you adhere it)

WHAT YOU’LL NEED:

Wednesday, January 1, 2025

DOTTED CIRCLES EMBOSSED BIRTHDAY

 HAPPY NEW YEAR!

WOW! Ready or not, 2025 is here!  I hope you all had a wonderful Holiday season and may this new year be a healthy and prosperous one.  Here's a playful way to start your new year.

I absolutely fell in love with this card when I saw it online!  It is so fun and colorful. You do need to buy 6" x 6" envelopes elsewhere to be able to mail this card and unfortunately, Stampin' up! does not carry them.  I will be trying this with other colors; maybe different shades of blue for a masculine card? Have fun with it.

DOTTED  CIRCLES  EMBOSSED BIRTHDAY 

Cased kerryscardsuk


HOW TO CREATE & ASSEMBLE: 

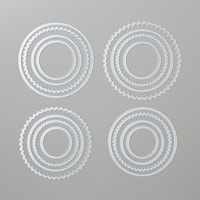
  1. Die cut or punch out circles in different sizes and colors.  Adhere these randomly on to your (5 1/4”sq.) square piece of white cardstock. Punch some for your envelope flap and for the inside of your card.
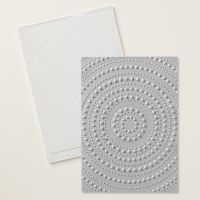
  2. Run the white cardstock through the embossing machine in the Dotted Circle’s 3D Embossing folder.  Adhere this to the front of your card base (5 1/5” x 11” scored at 5 1/2”). Set aside. (Optional: Run the envelope flap through the embossing machine too.)
  3. Stamp sentiment on one of the (1” x 5 1/4”) white strips of cardstock. Adhere to the card front using dimensionals. 
  4. On the other (1” x 5 1/4”) strip of white, adhere a couple of small Circes and adhere this to the inside of your card along the left margin.
  5. Stamp any other sentiment you may want to the inside of your card.

WHAT YOU’LL NEED:

DAD, THANKS FOR BEING THE BEST

  DAD, THANKS FOR BEING THE BEST HOW TO CREATE & ASSEMBLE: Run three (2” x 3 1/2”) pieces of DSP through the Die machine with the corr...